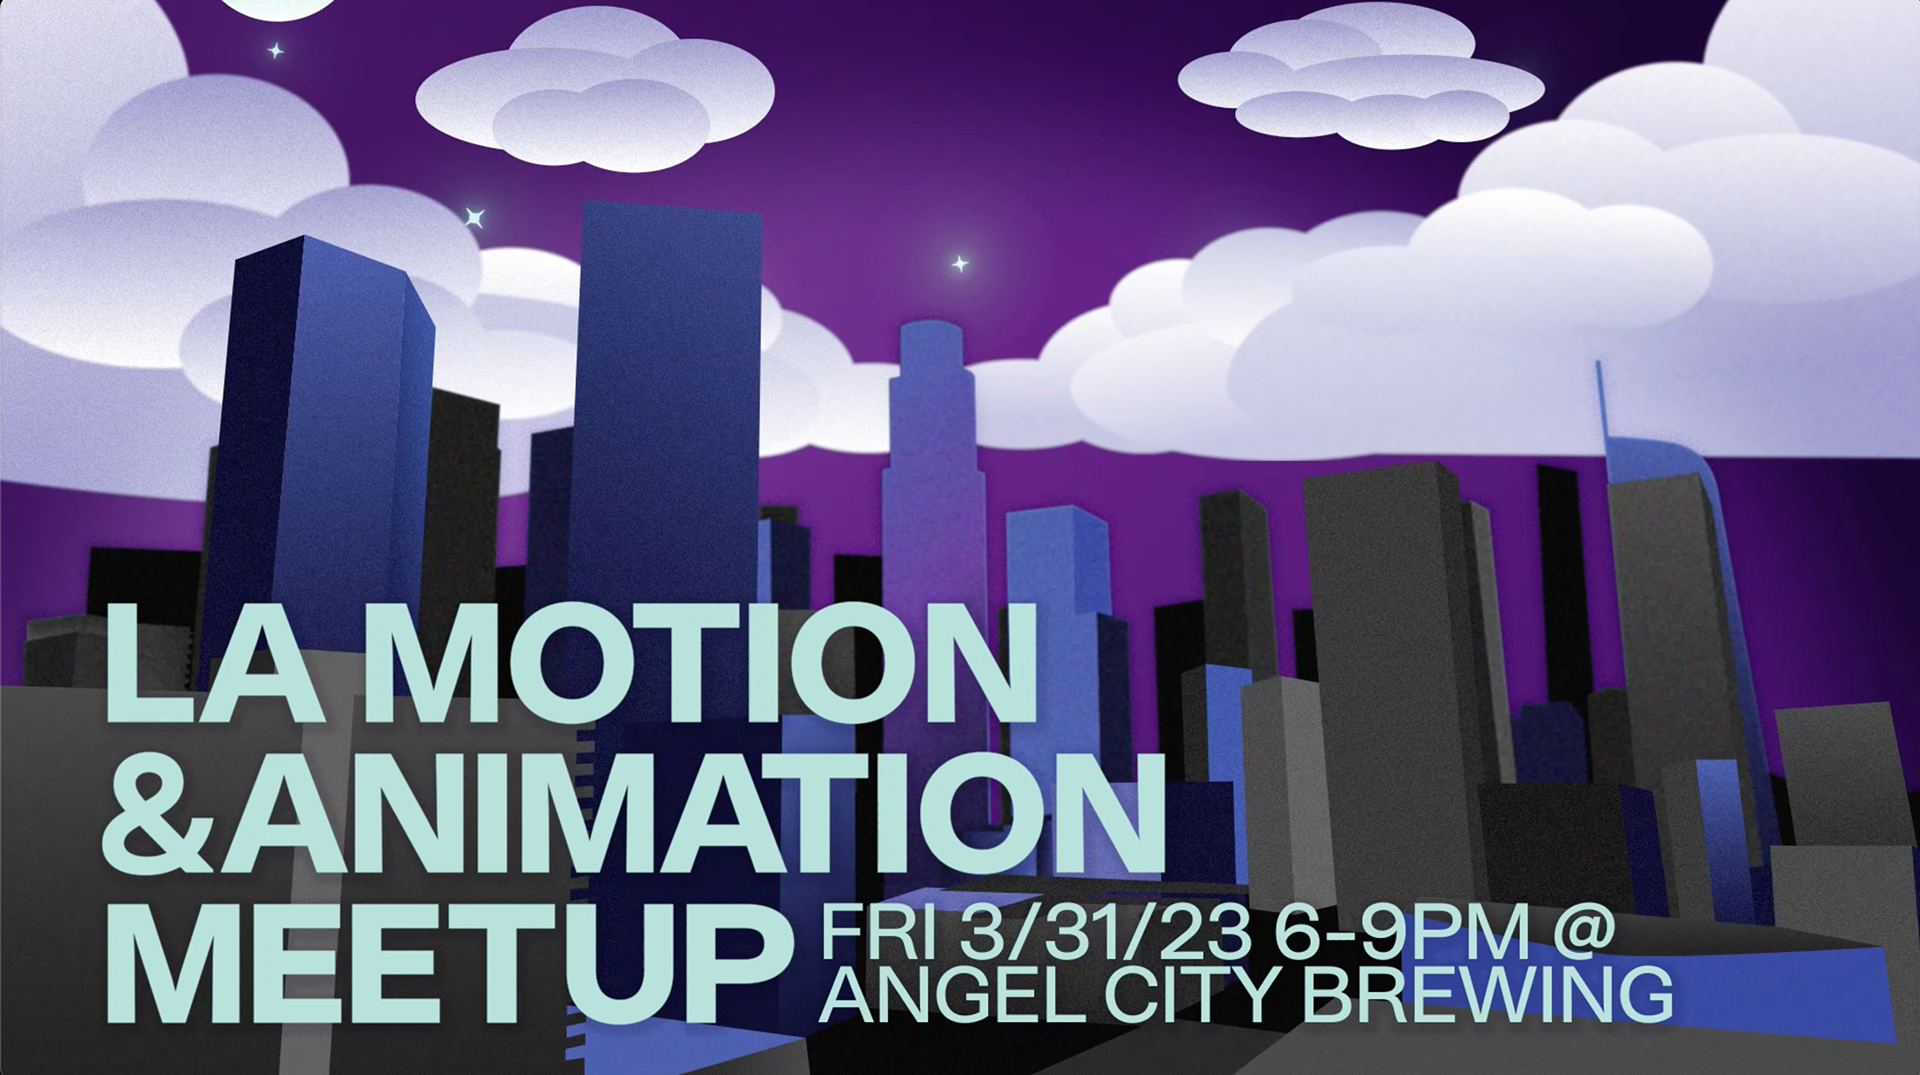
Los Angeles Motion Design & Animation Meetup
At the beginning of 2023 I was set on growing my freelance business. looking to start reaching out to studio owners, producers, agencies, and businesses, I wanted to have something to offer rather than just cold emailing asking to get hired.
I Decided to create something that would provide value to the community, offer networking opportunities, and act as the co-workers happy hour so many freelancers never get to experience. I'd been looking around for a meetup, but 2020 seemed to have killed them all off, so I decided to start my own.
If you build it, they will come...
Stage 1: Planning
Where to begin? The first step was deciding what story I wanted to tell in the animation.
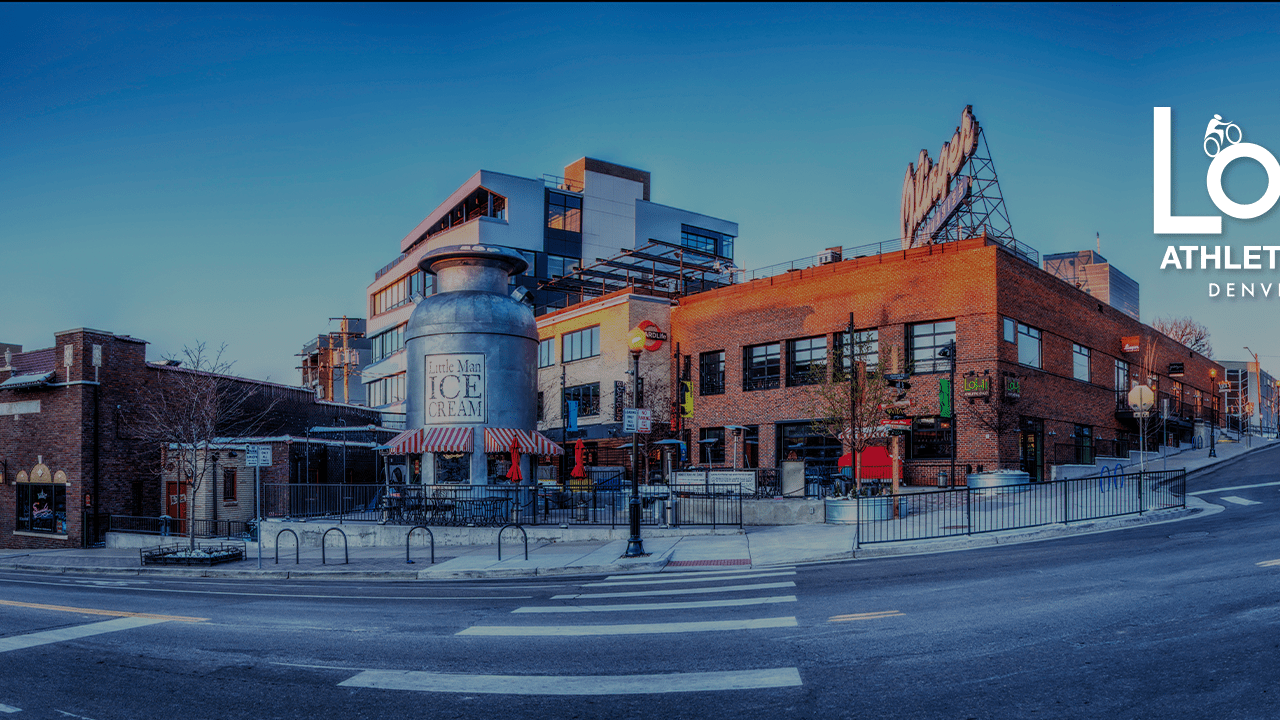
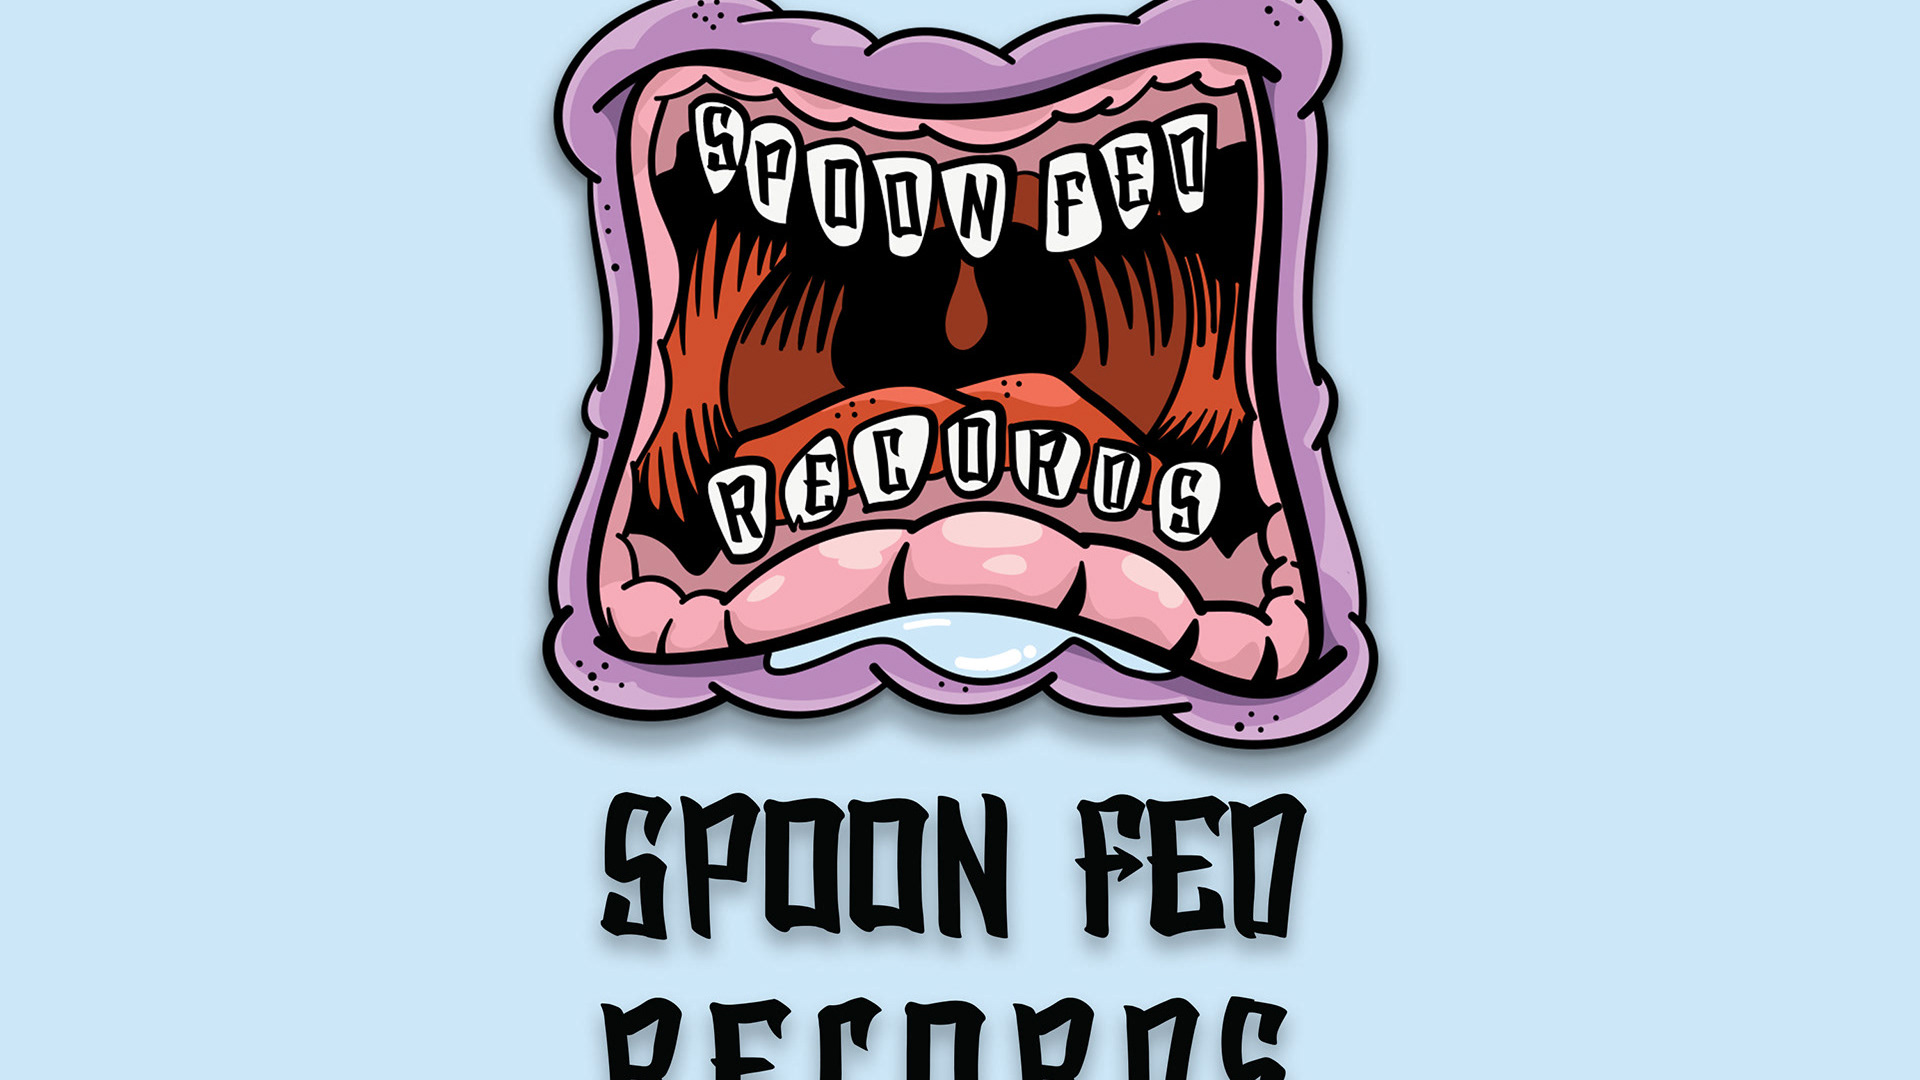
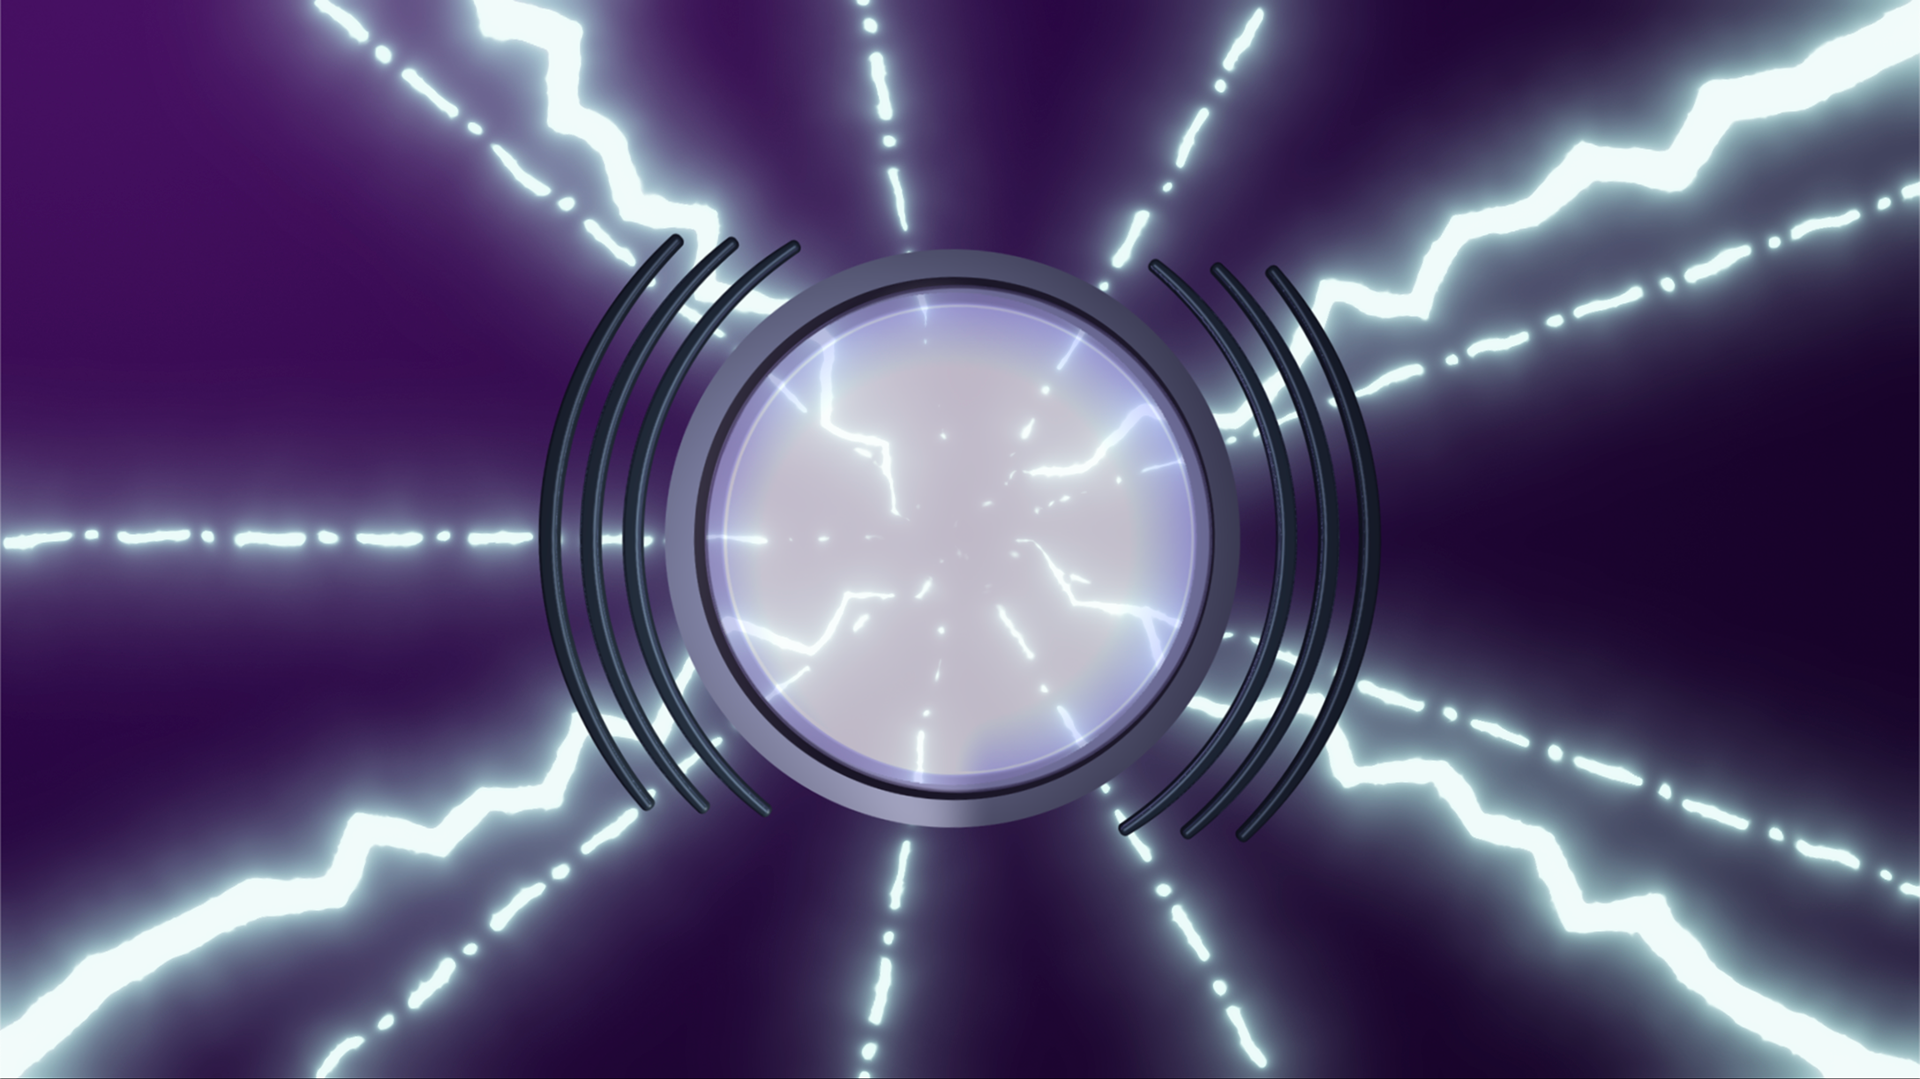
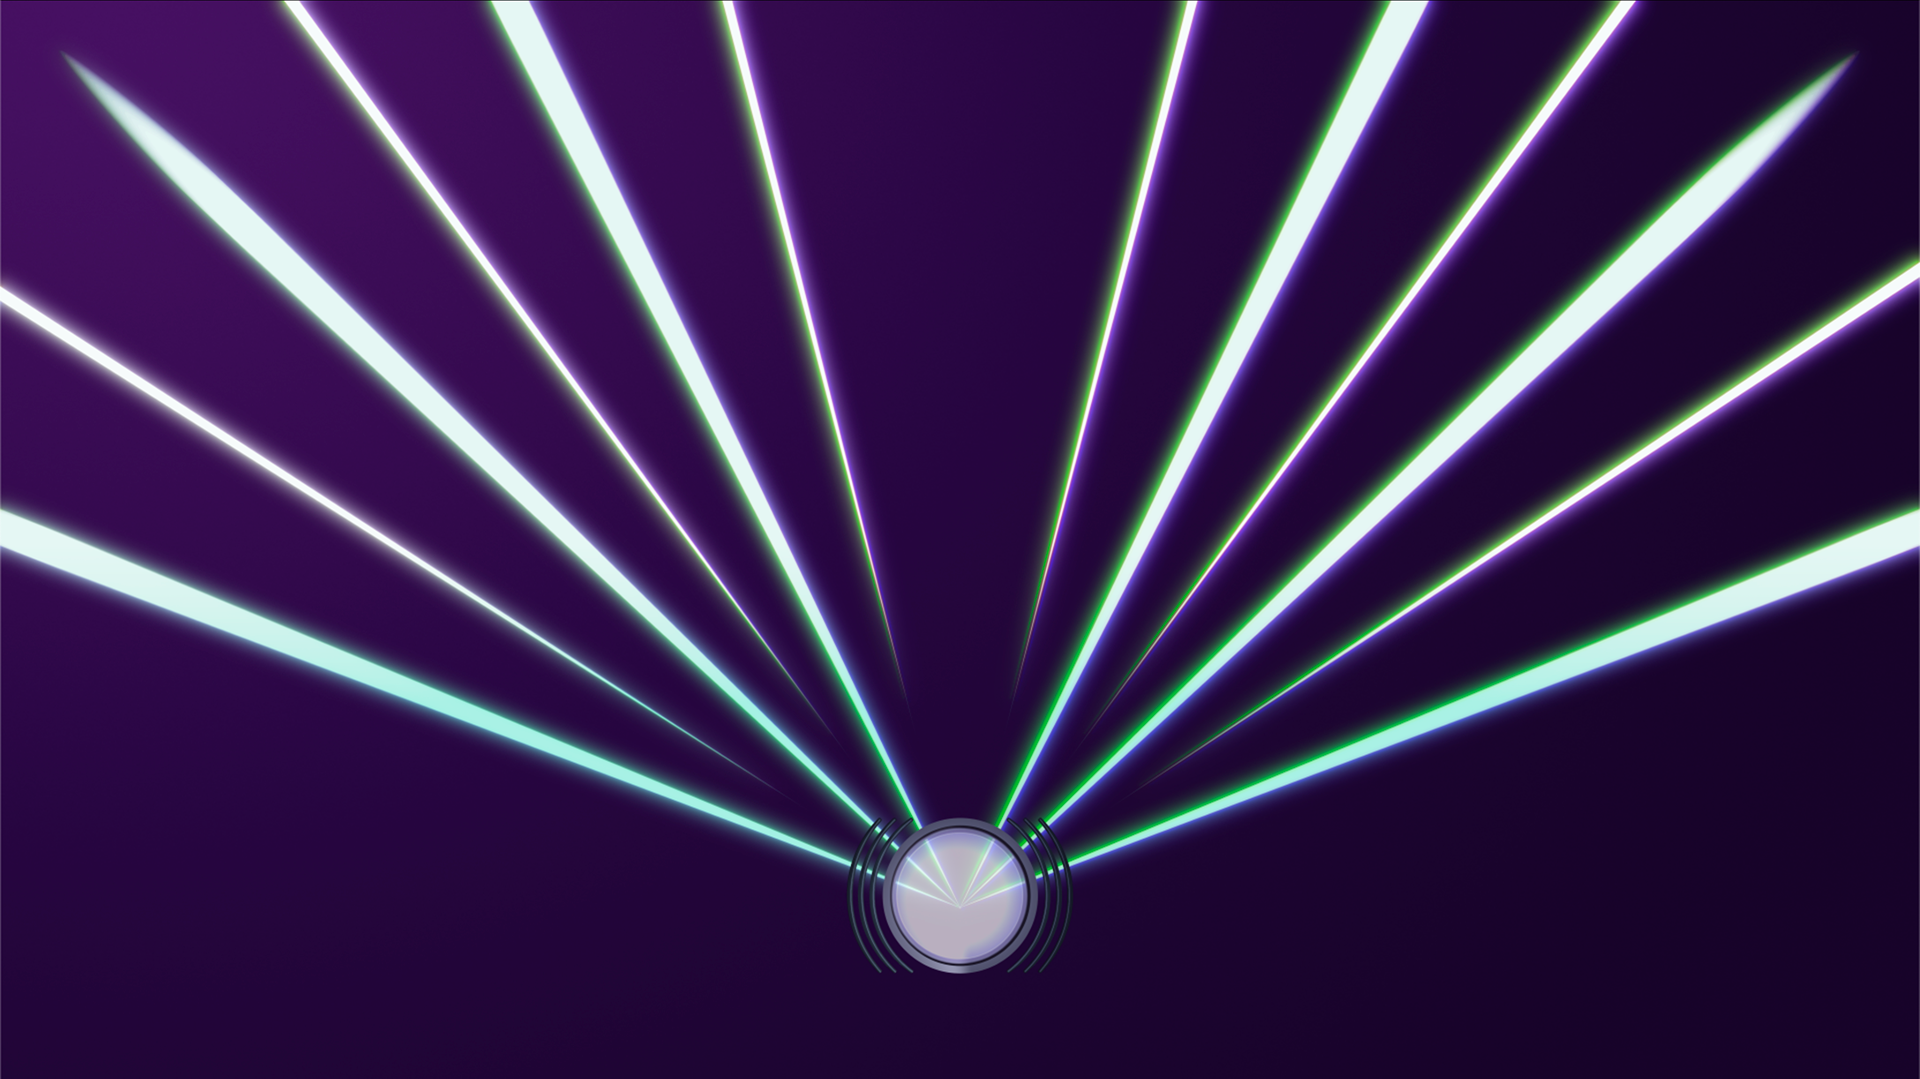
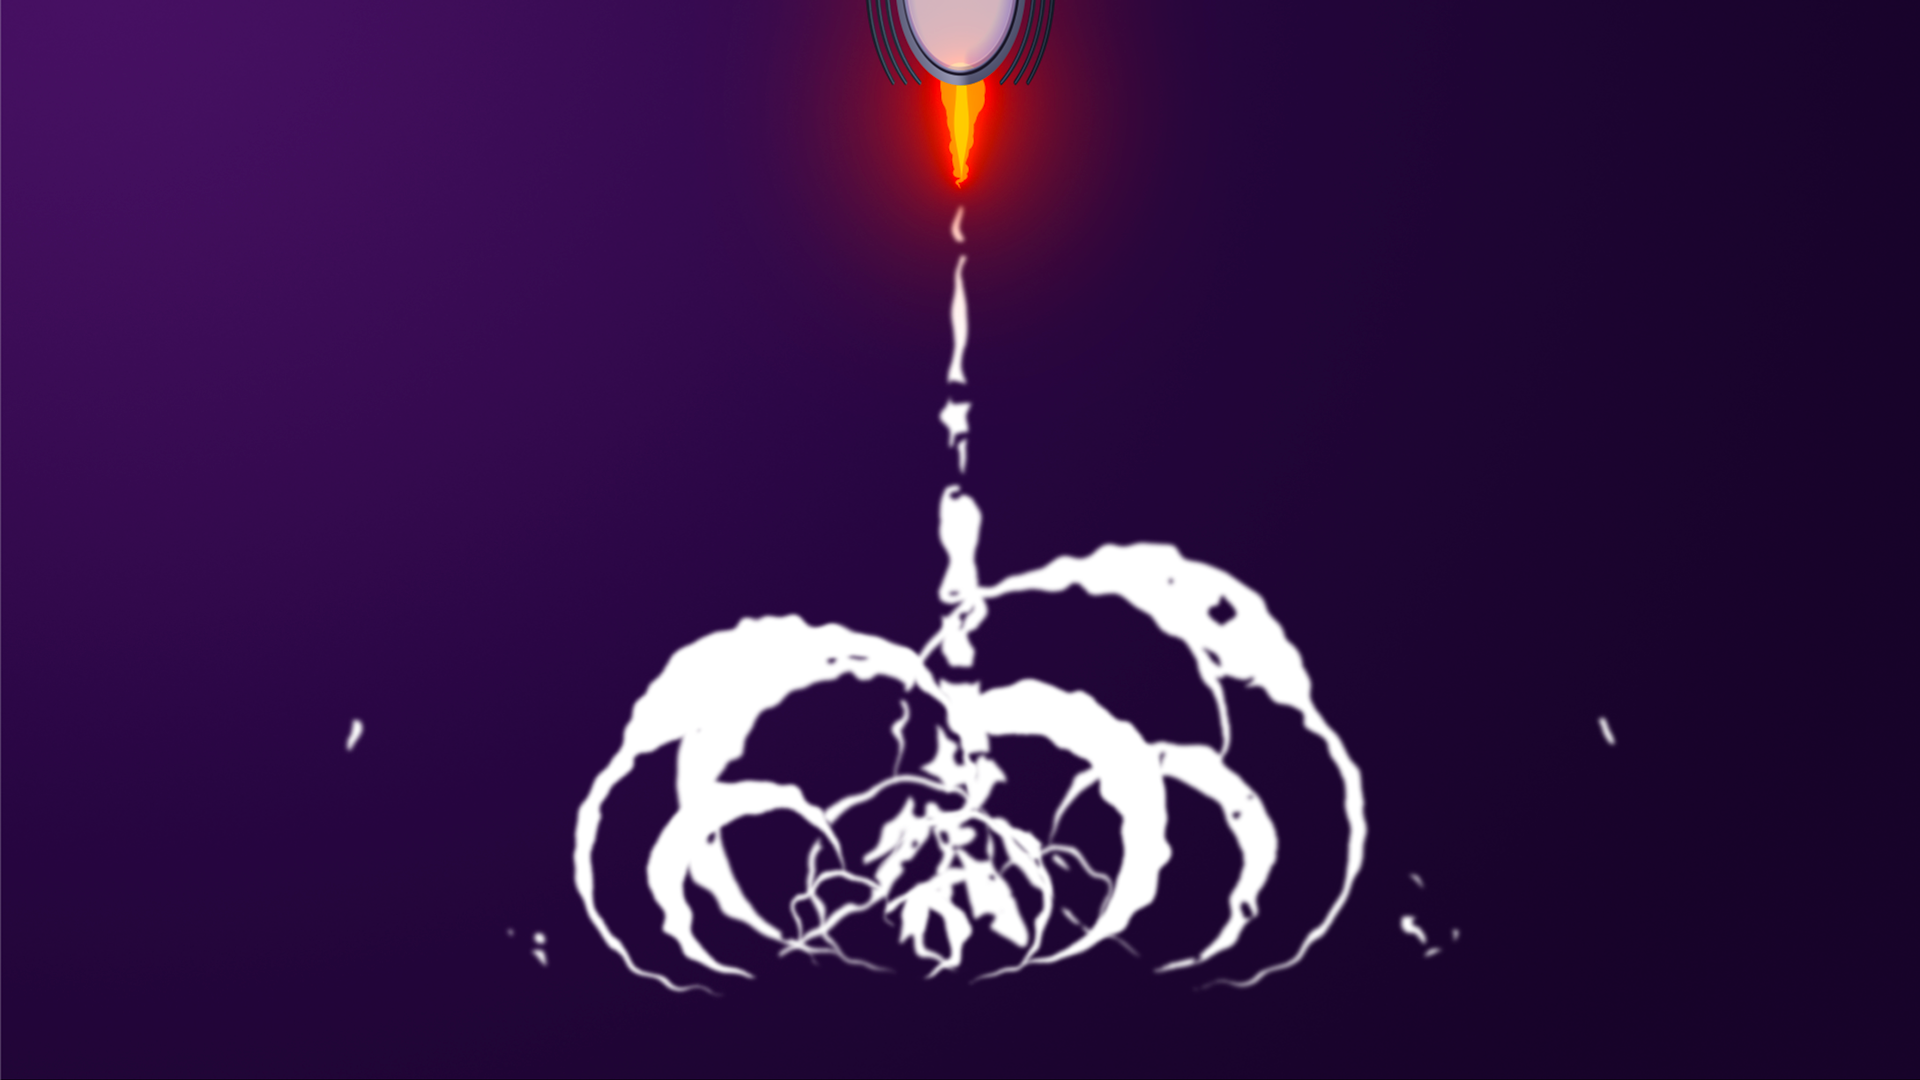
The concept was amplifying your signal to launch a career and blow up the artist. I chose my personal logo as the character, wanted to incorporate elements that represent my skillset, and told the story of my career arc. Launching out of a side hustle working in the music industry, leading to full time freelancer.
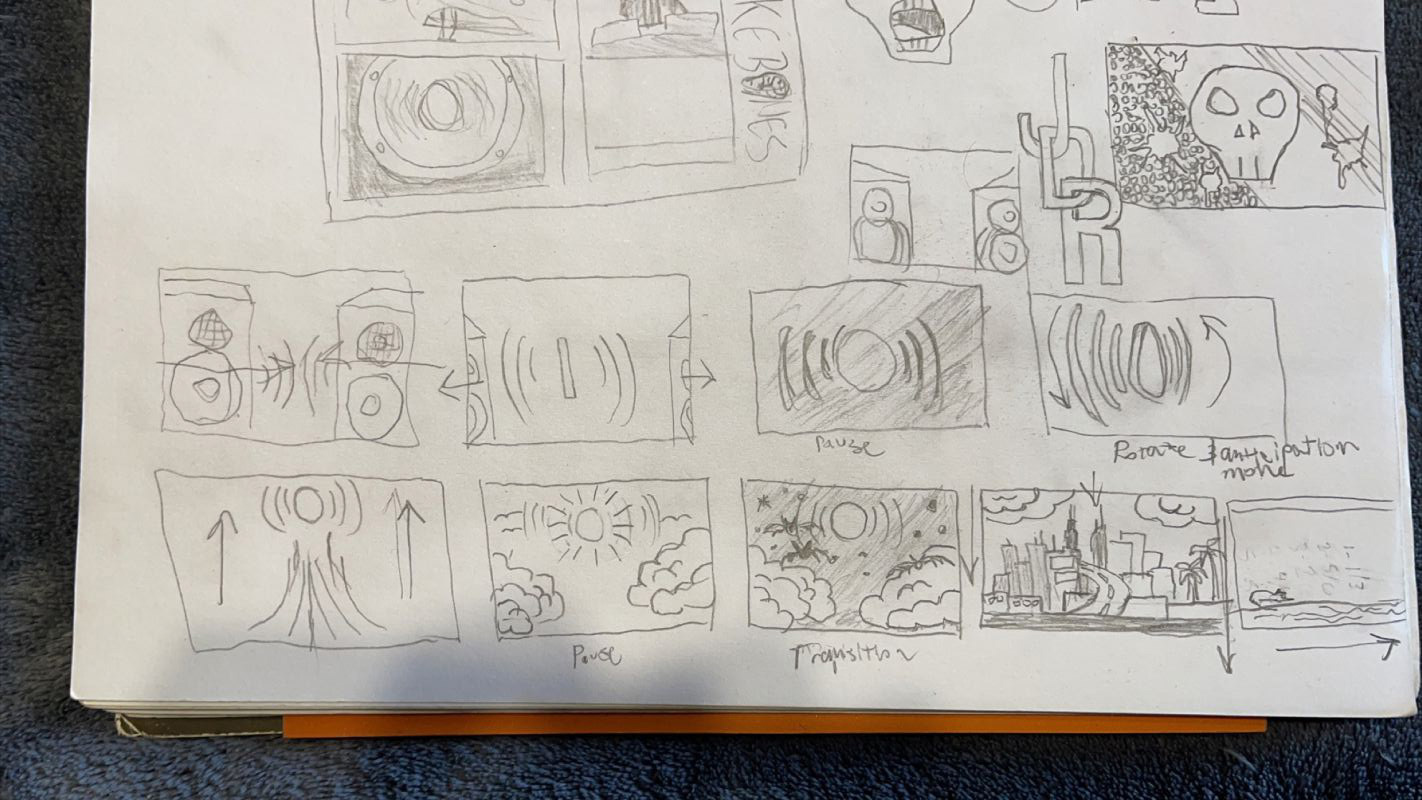
Initial sketch storyboards
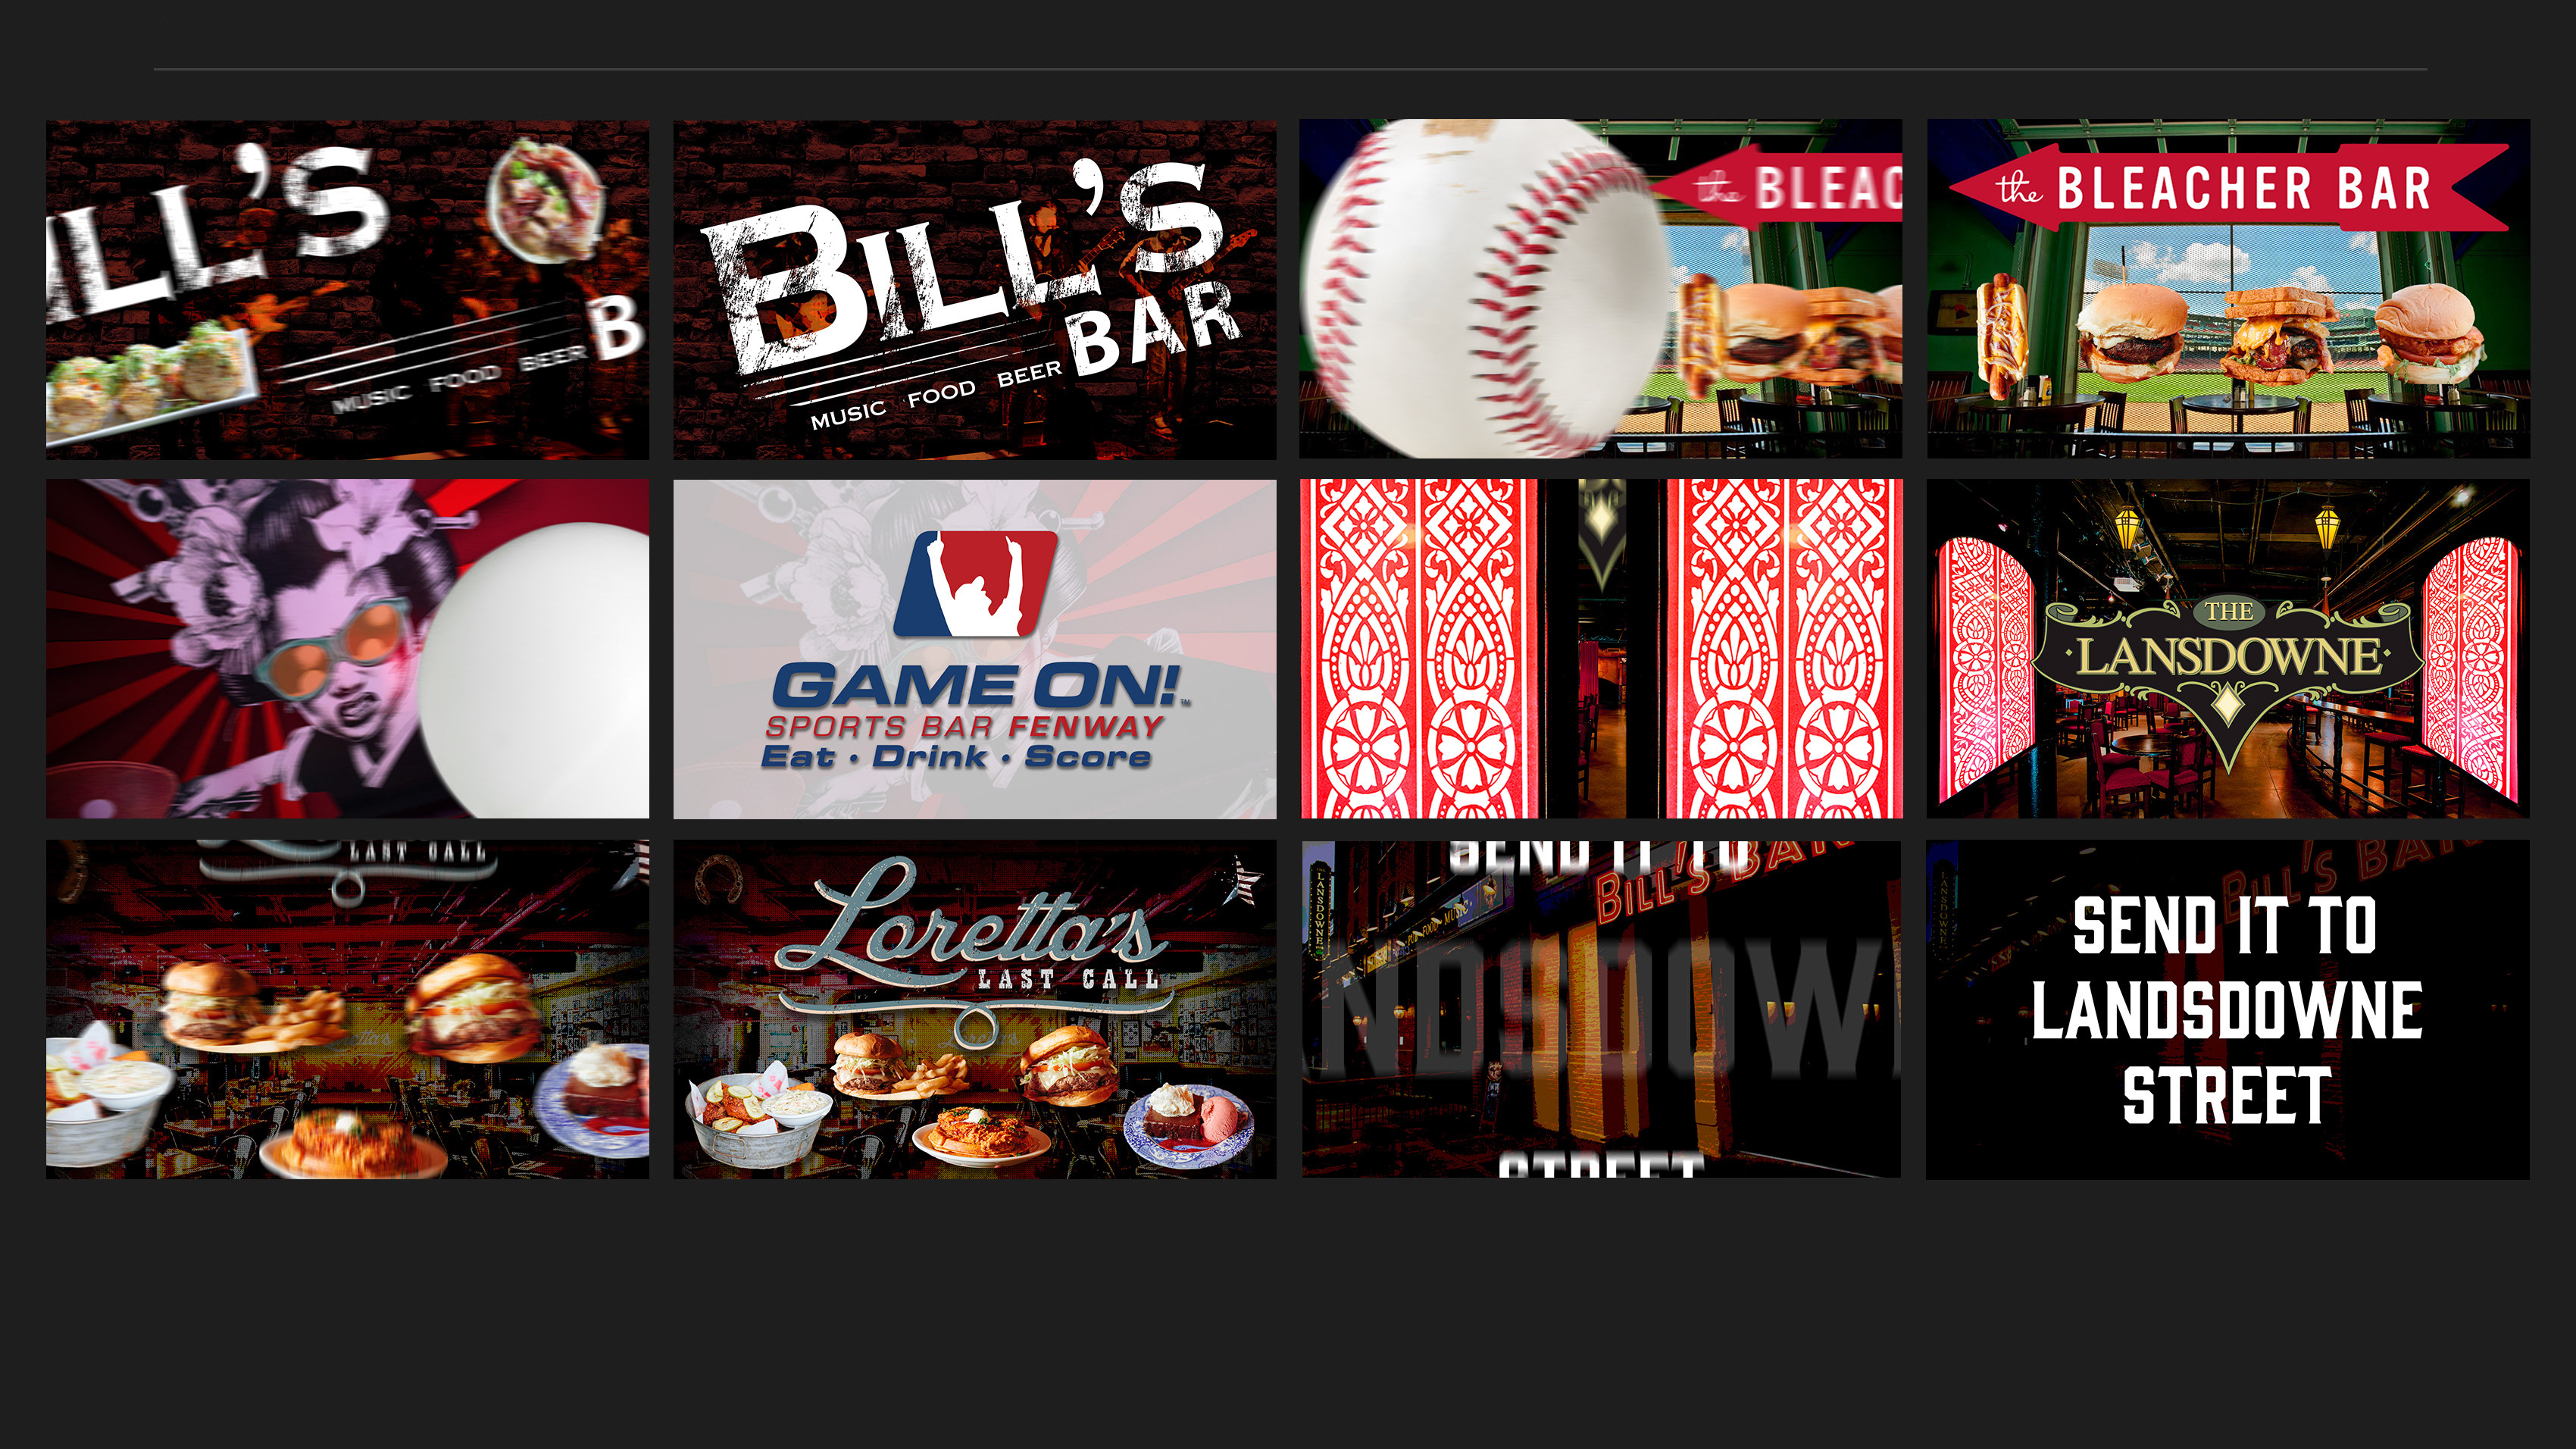
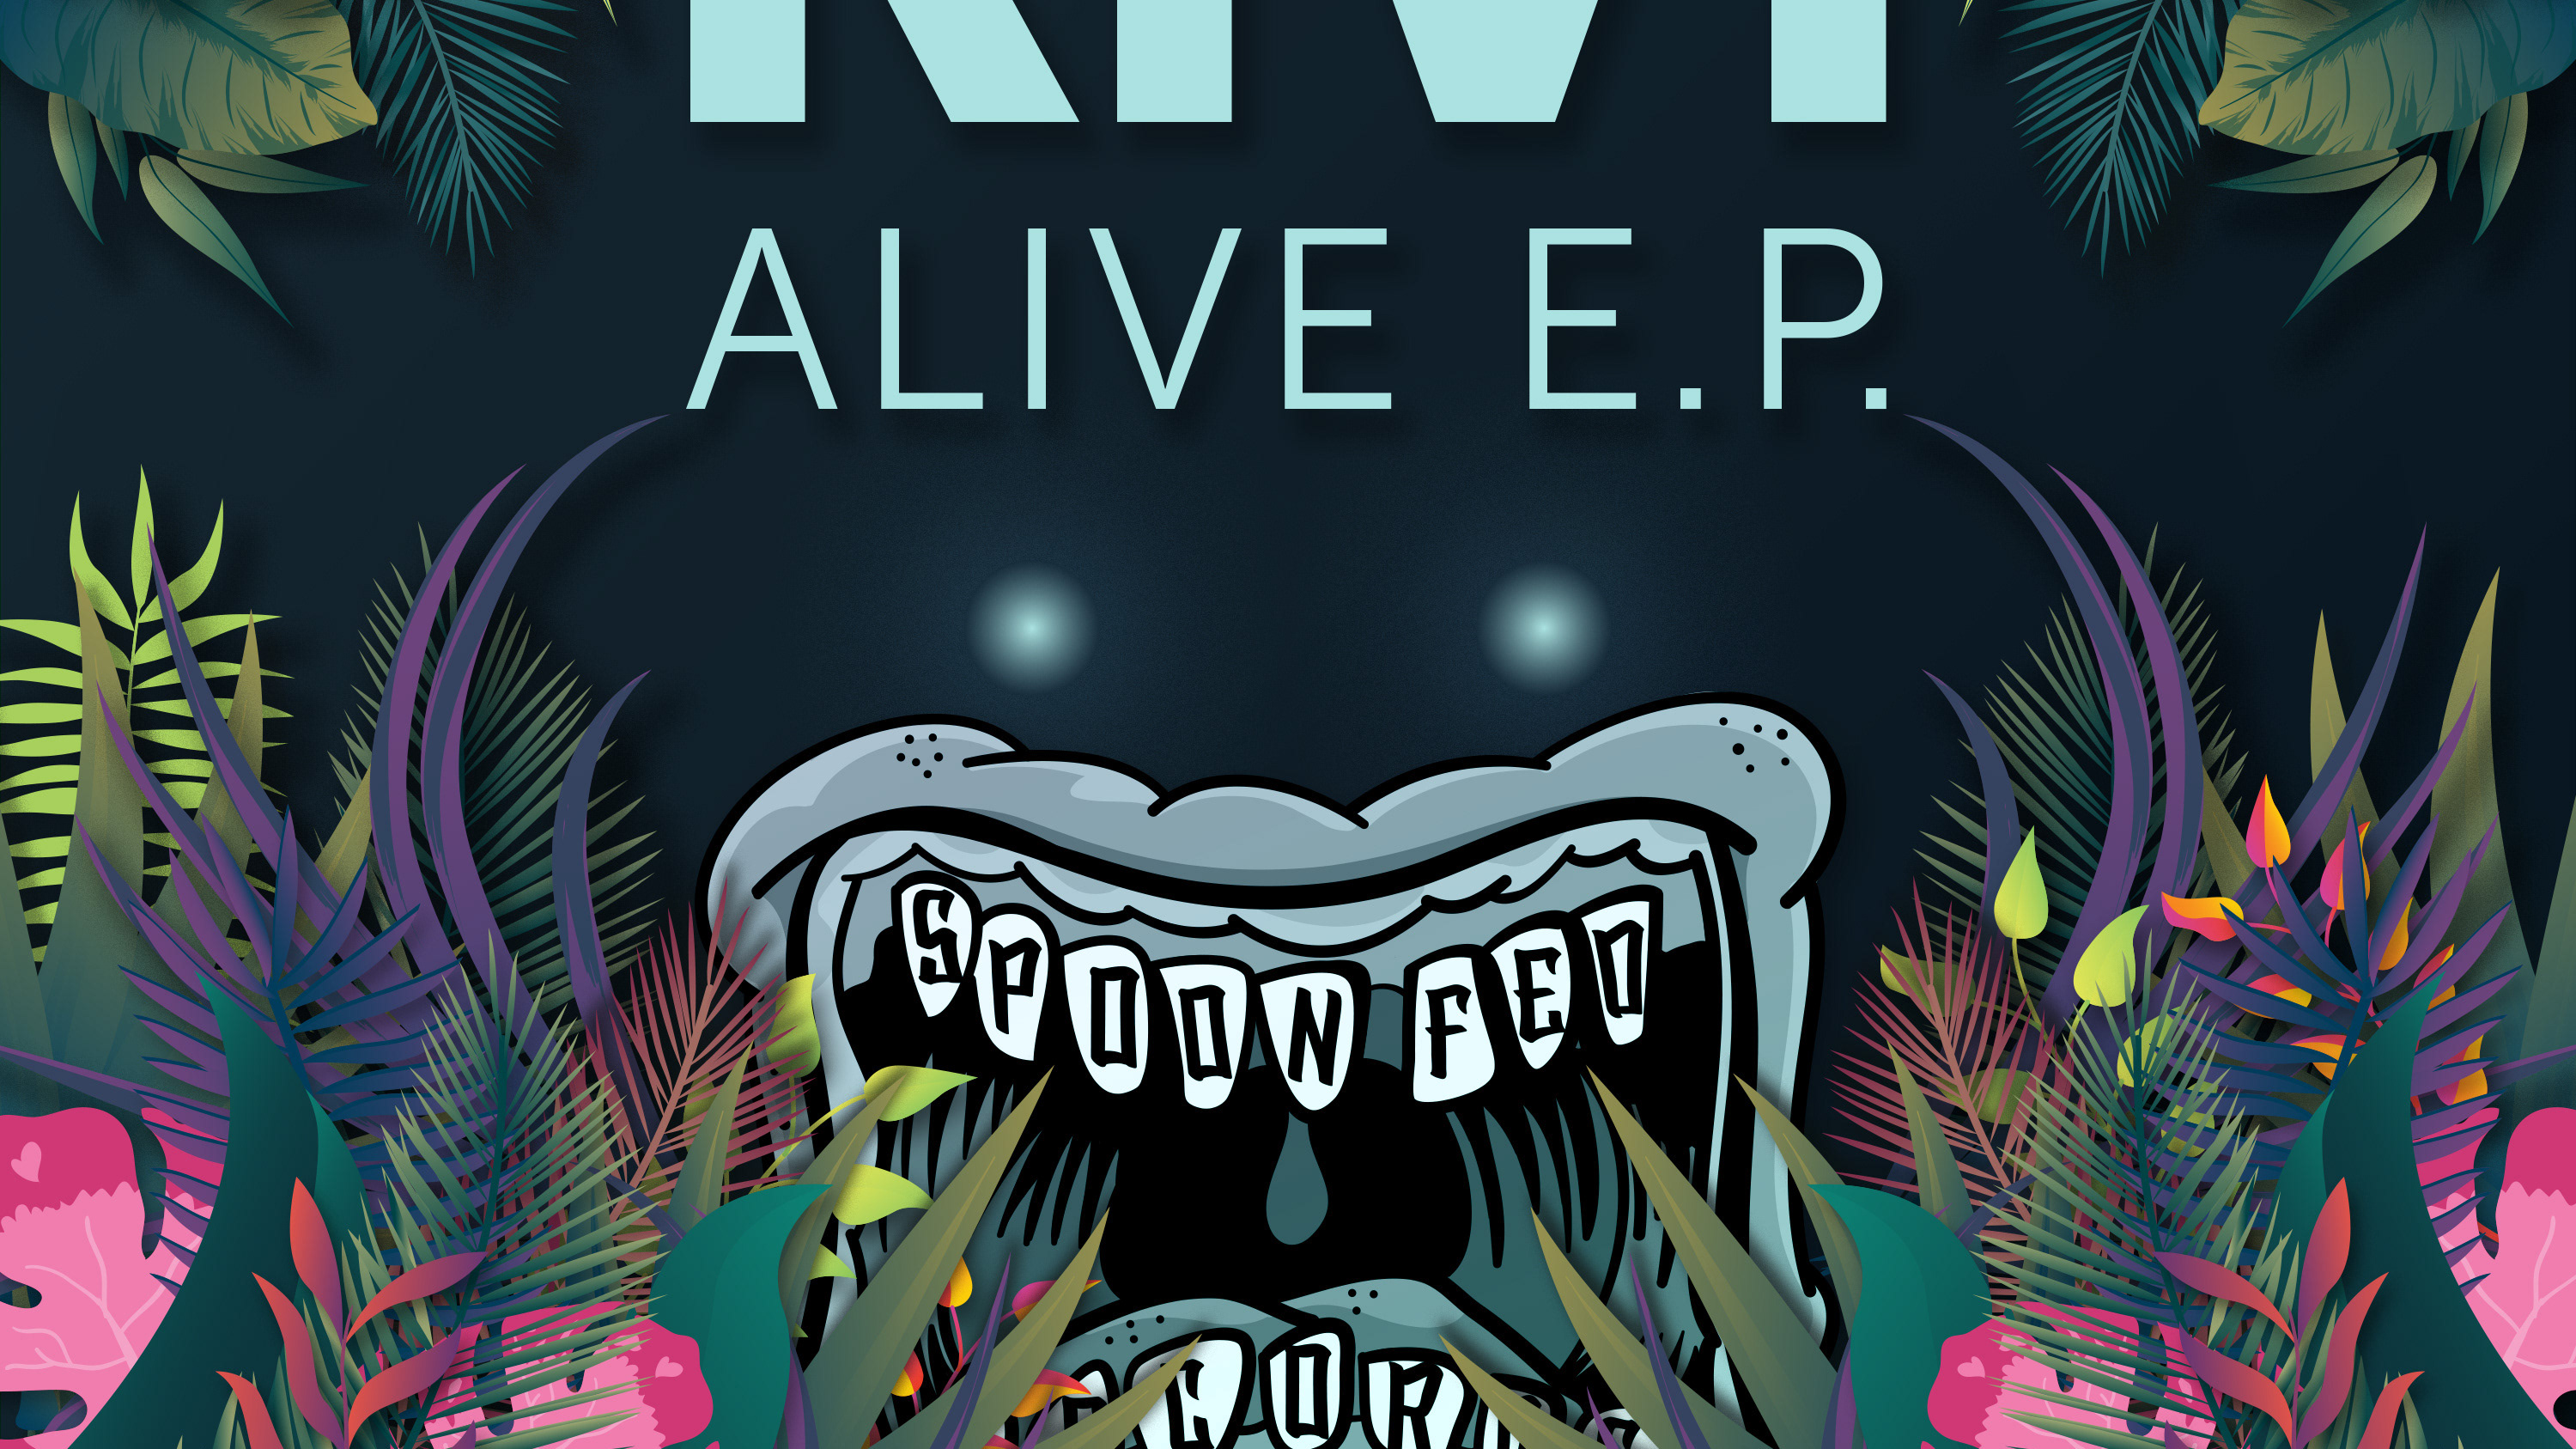
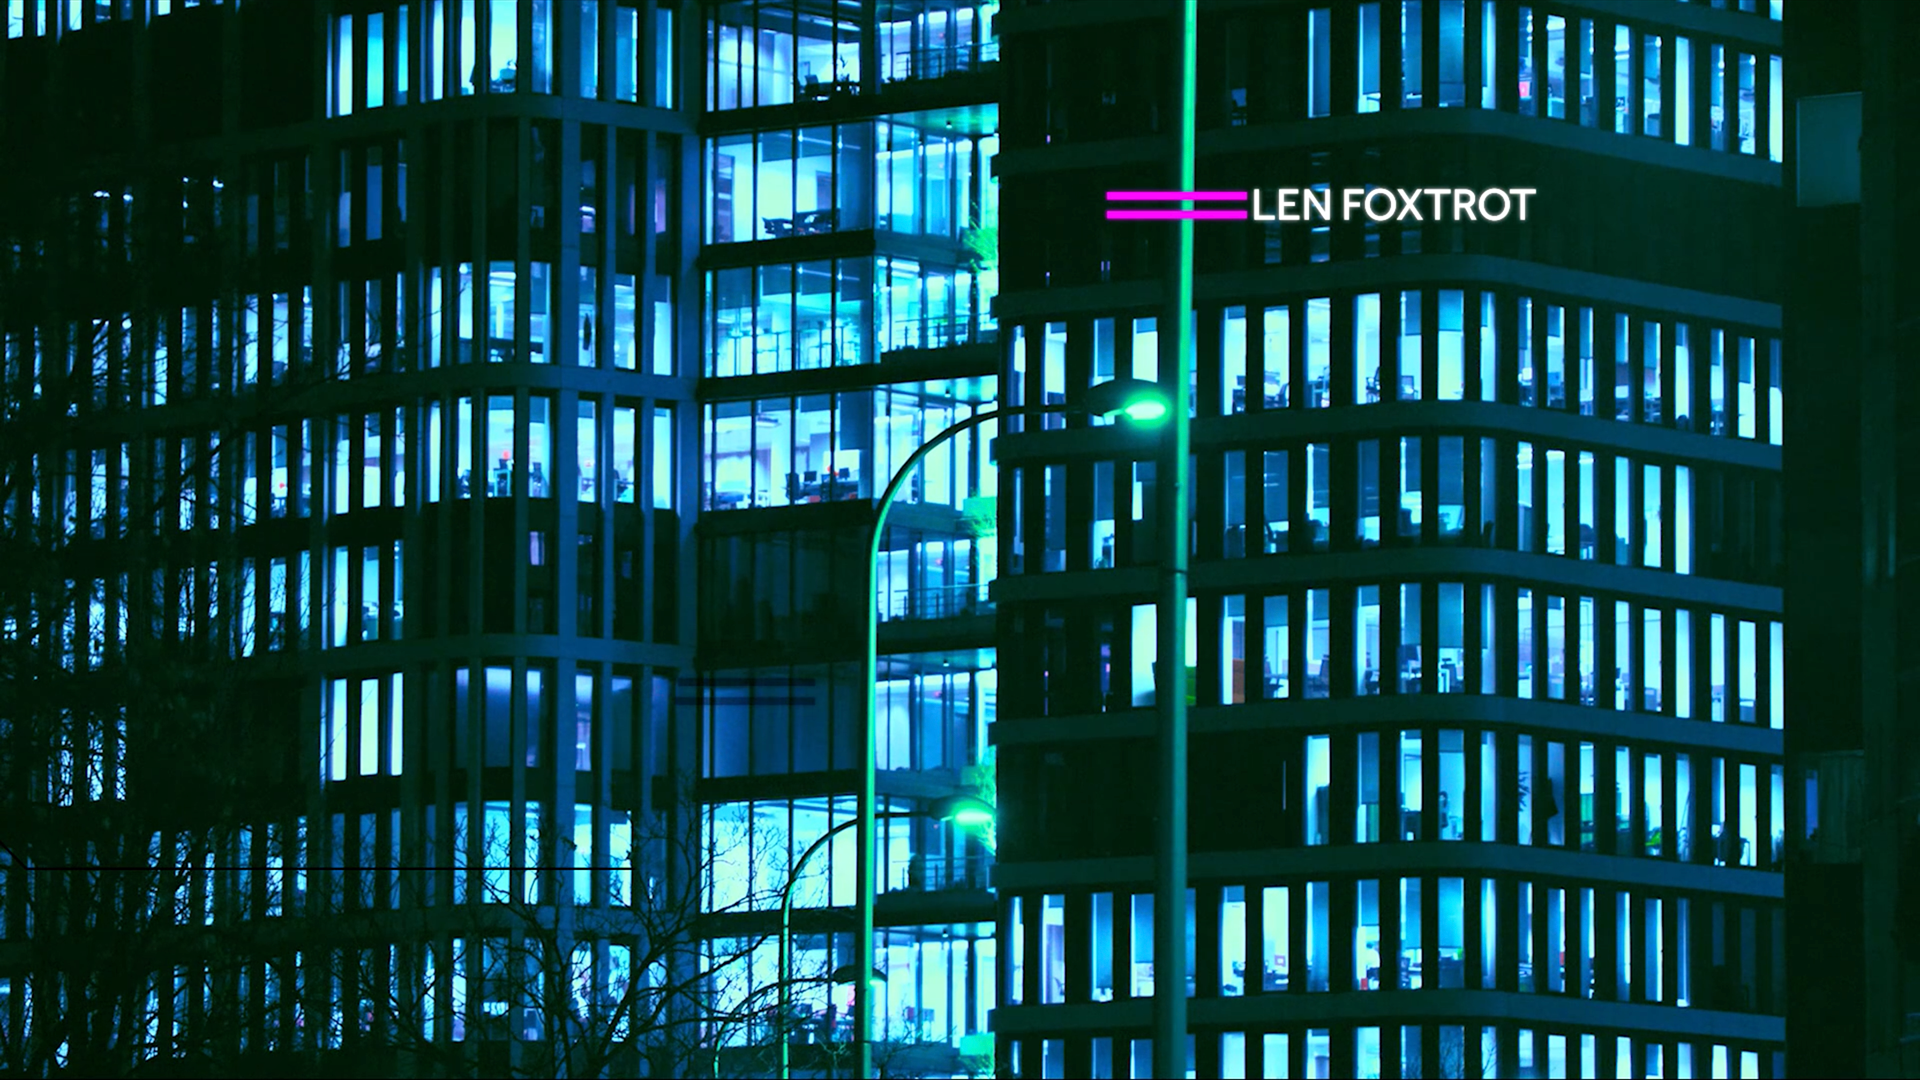
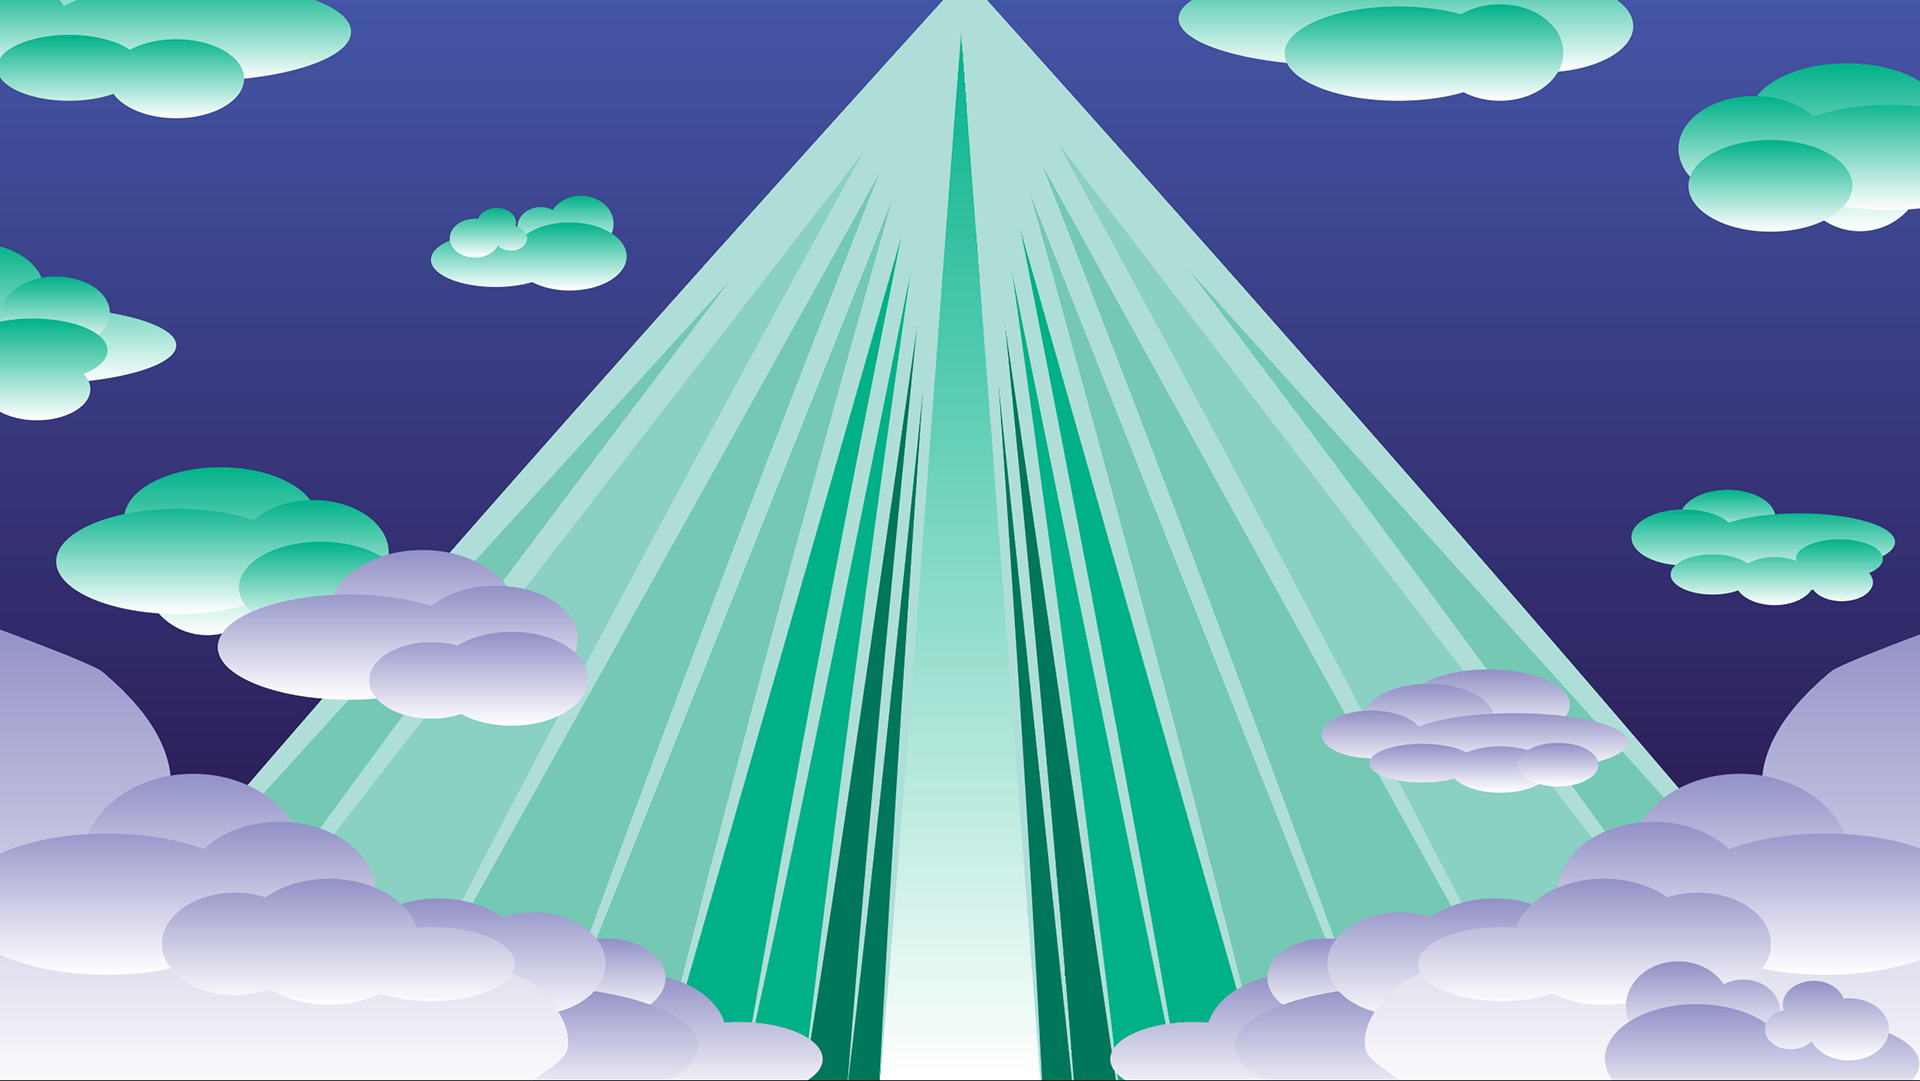
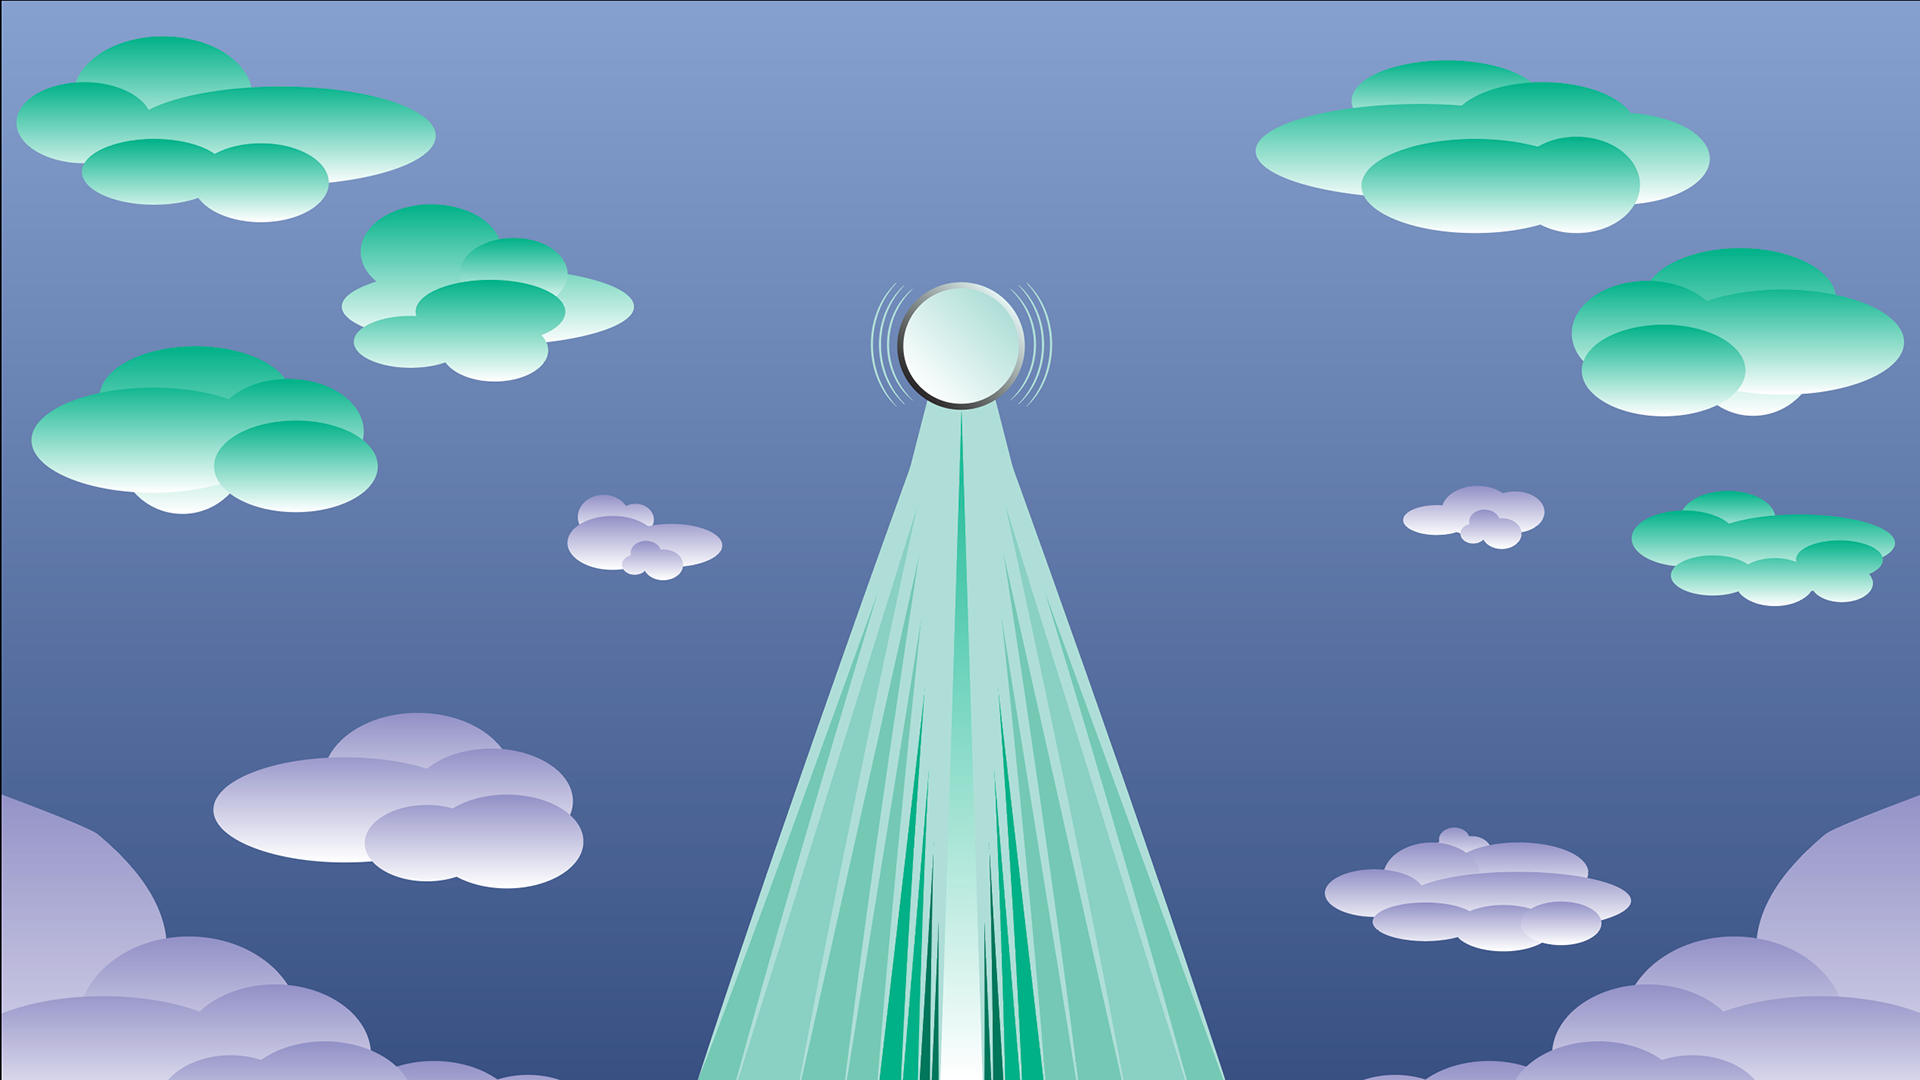
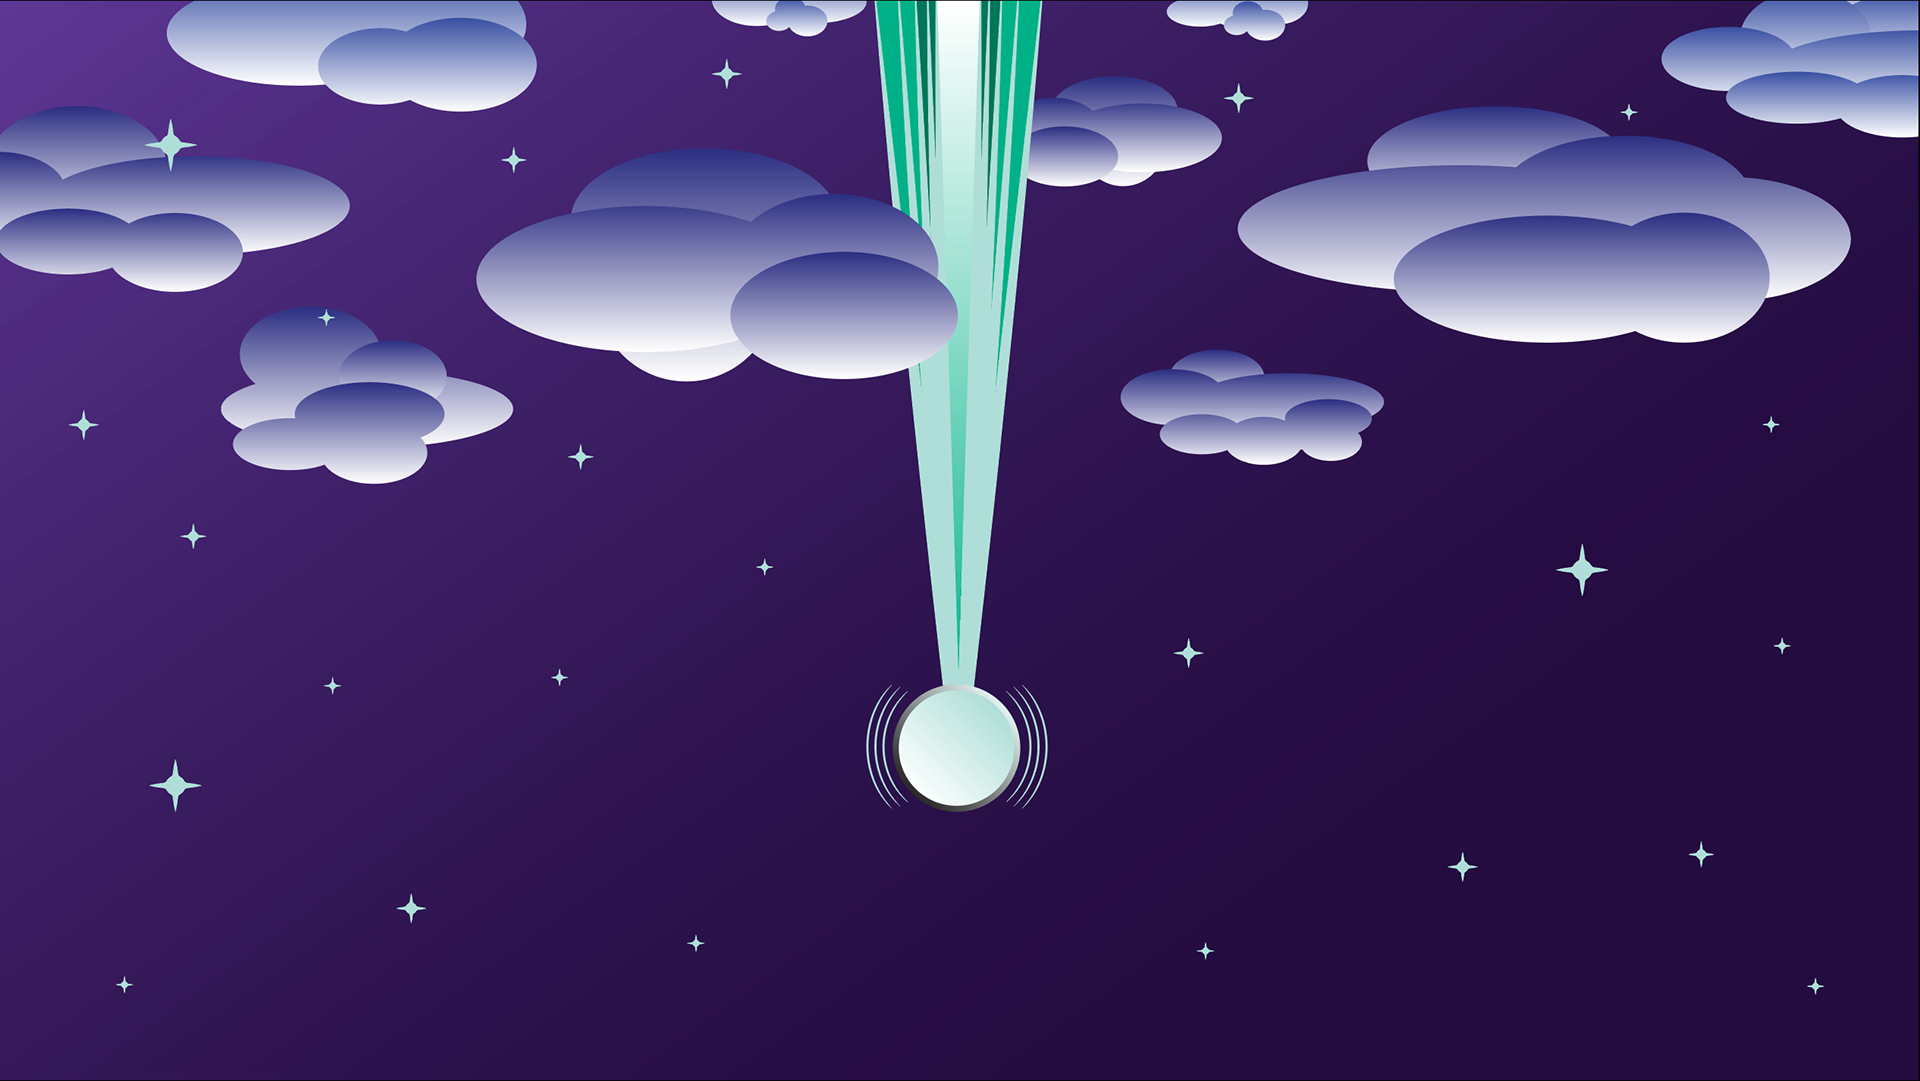
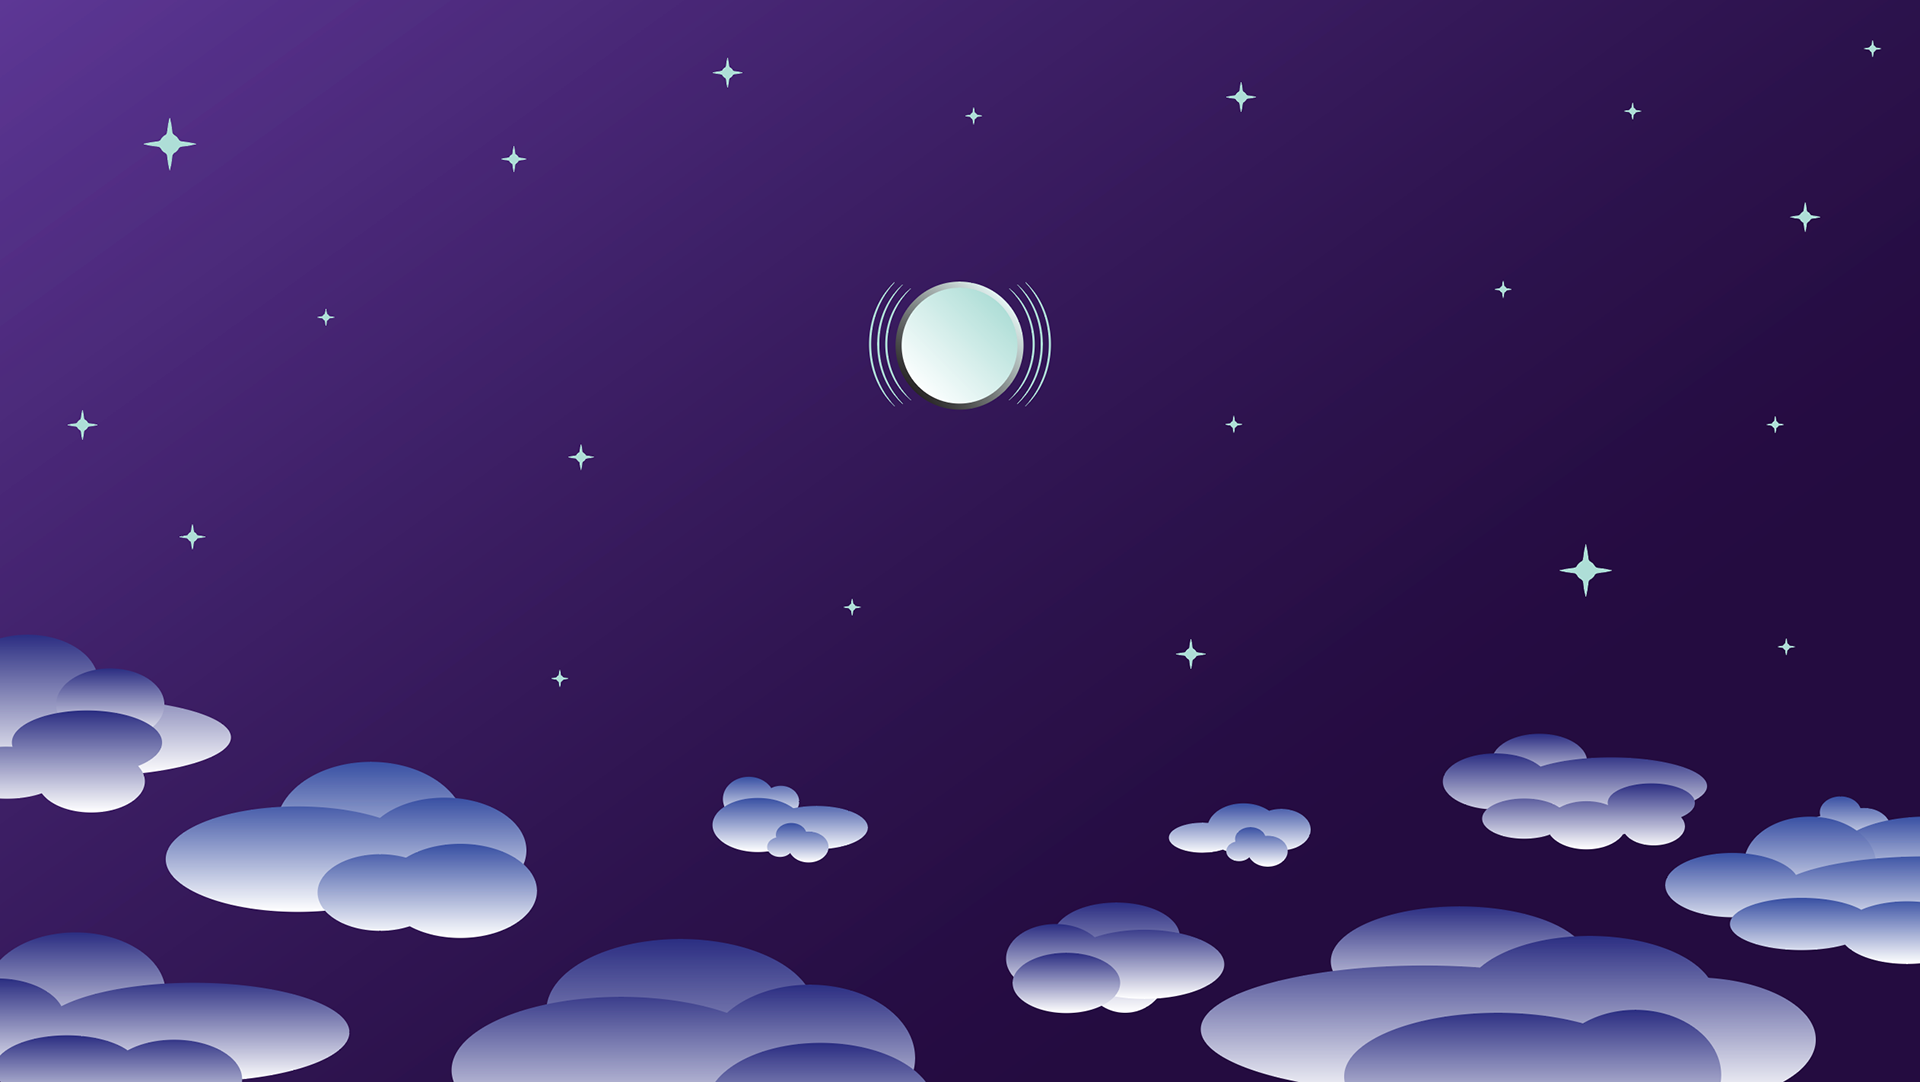
STAGE 2: Style Frames & Asset Prep
Once I had the rough sketches done, it was time to create some frames to be animated. I hopped into Illustrator to create some basic assets- the logo, the speakers, the clouds, the city, the clouds, and the stars. I used Overlord to push the vectors over to AE, and got busy labeling and rigging all the assets.
Styleframe 1
Styleframe 2
Styleframe 3
Styleframe 4
Styleframe 5
Styleframe 6
Styleframe 7
Styleframe 8
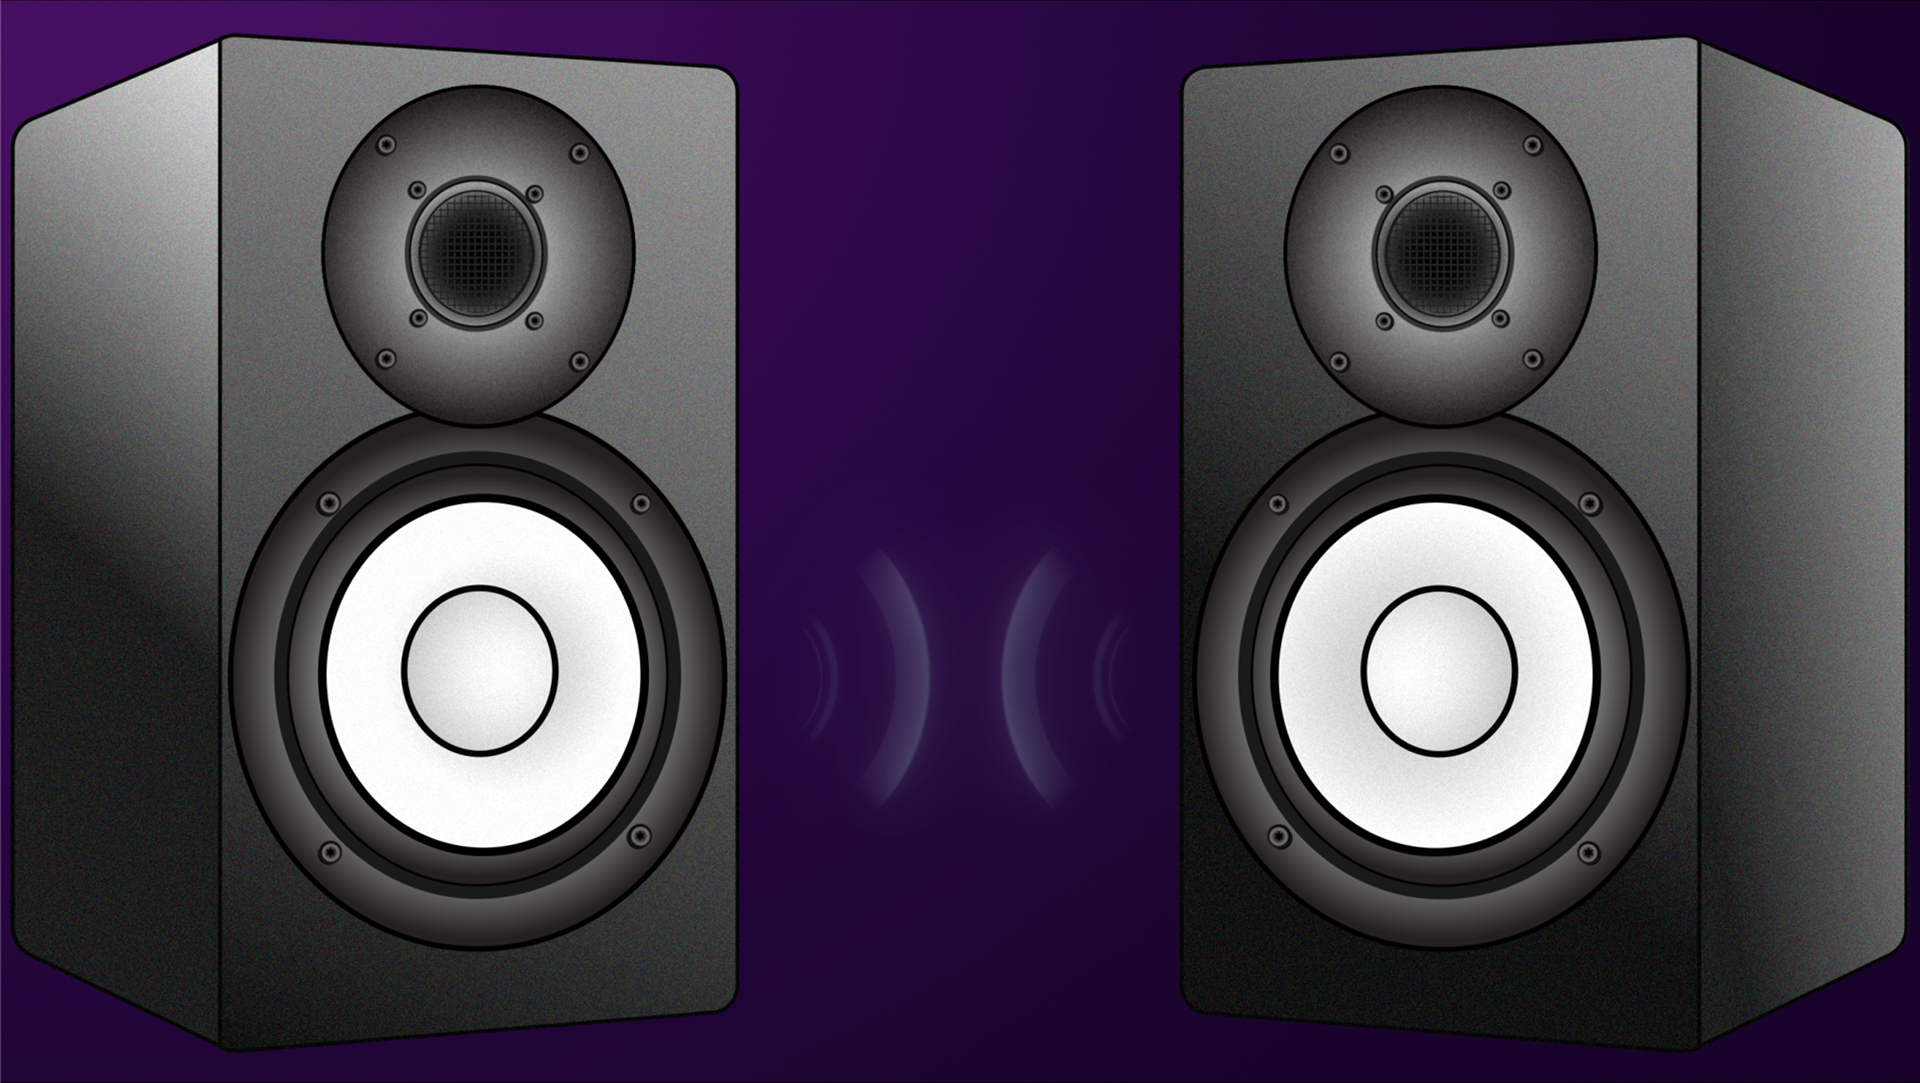
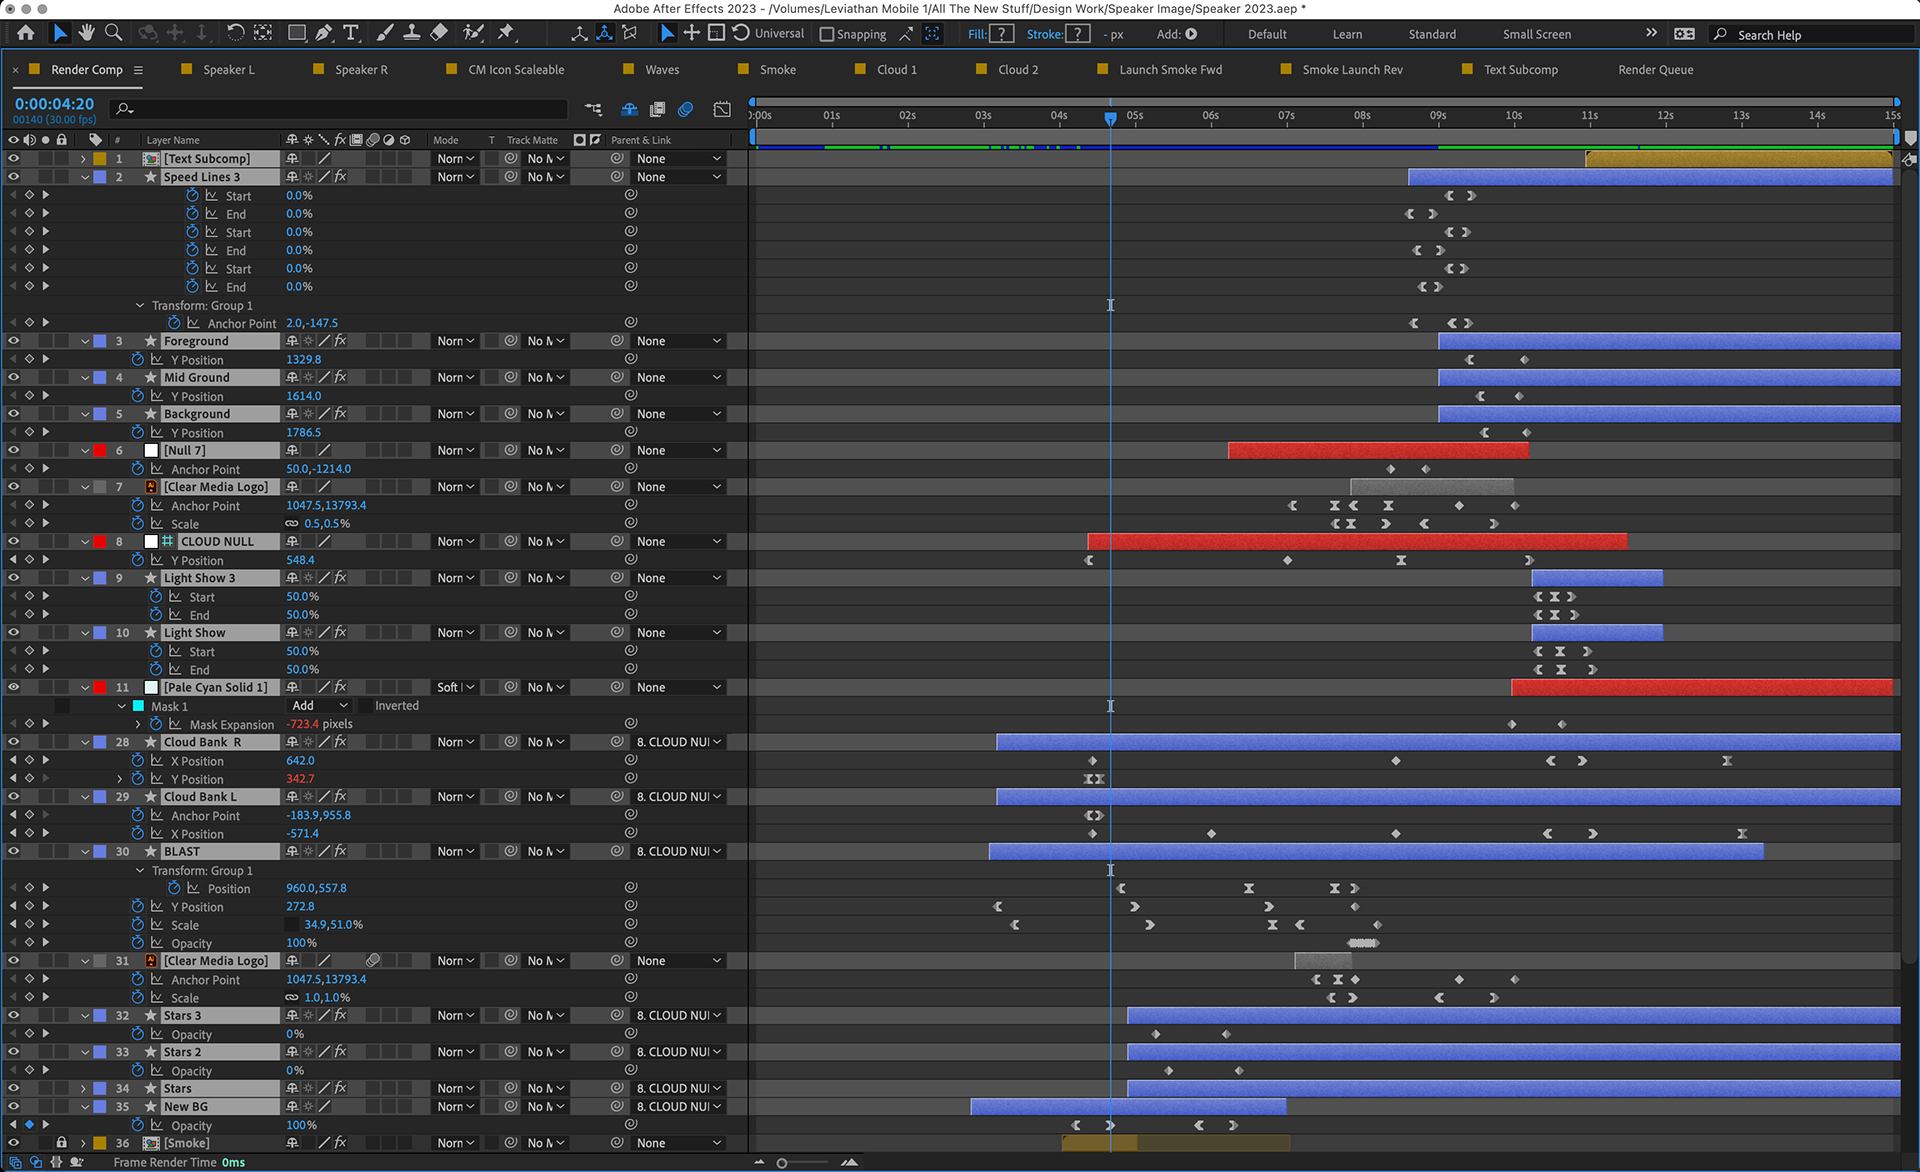
For the speakers, I rebuilt the gradient fills in AE, duplicated the comp, then adjusted the gradients in the second version so the lighting appeared realistic. I knew the rough finish texture on the speakers would be most easily achieved in AE by adding some noise and grain effects. Then it was simply a matter of flipping the horizontal scale to make the second comp face the opposite way.
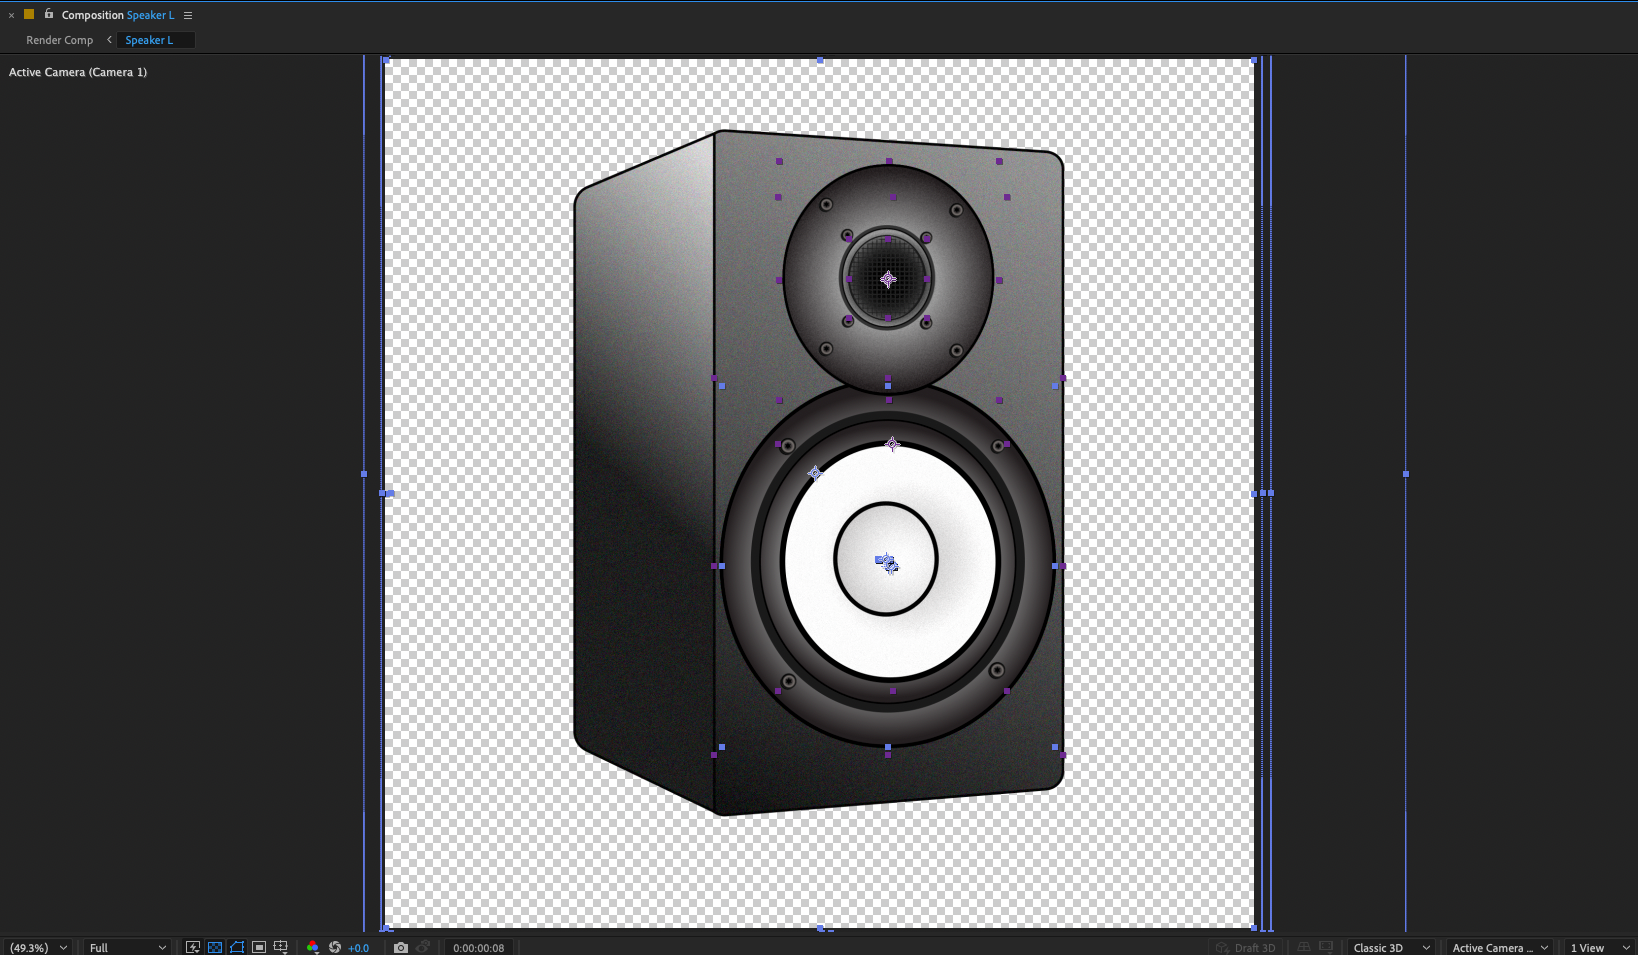
Left Speaker

Right Speaker
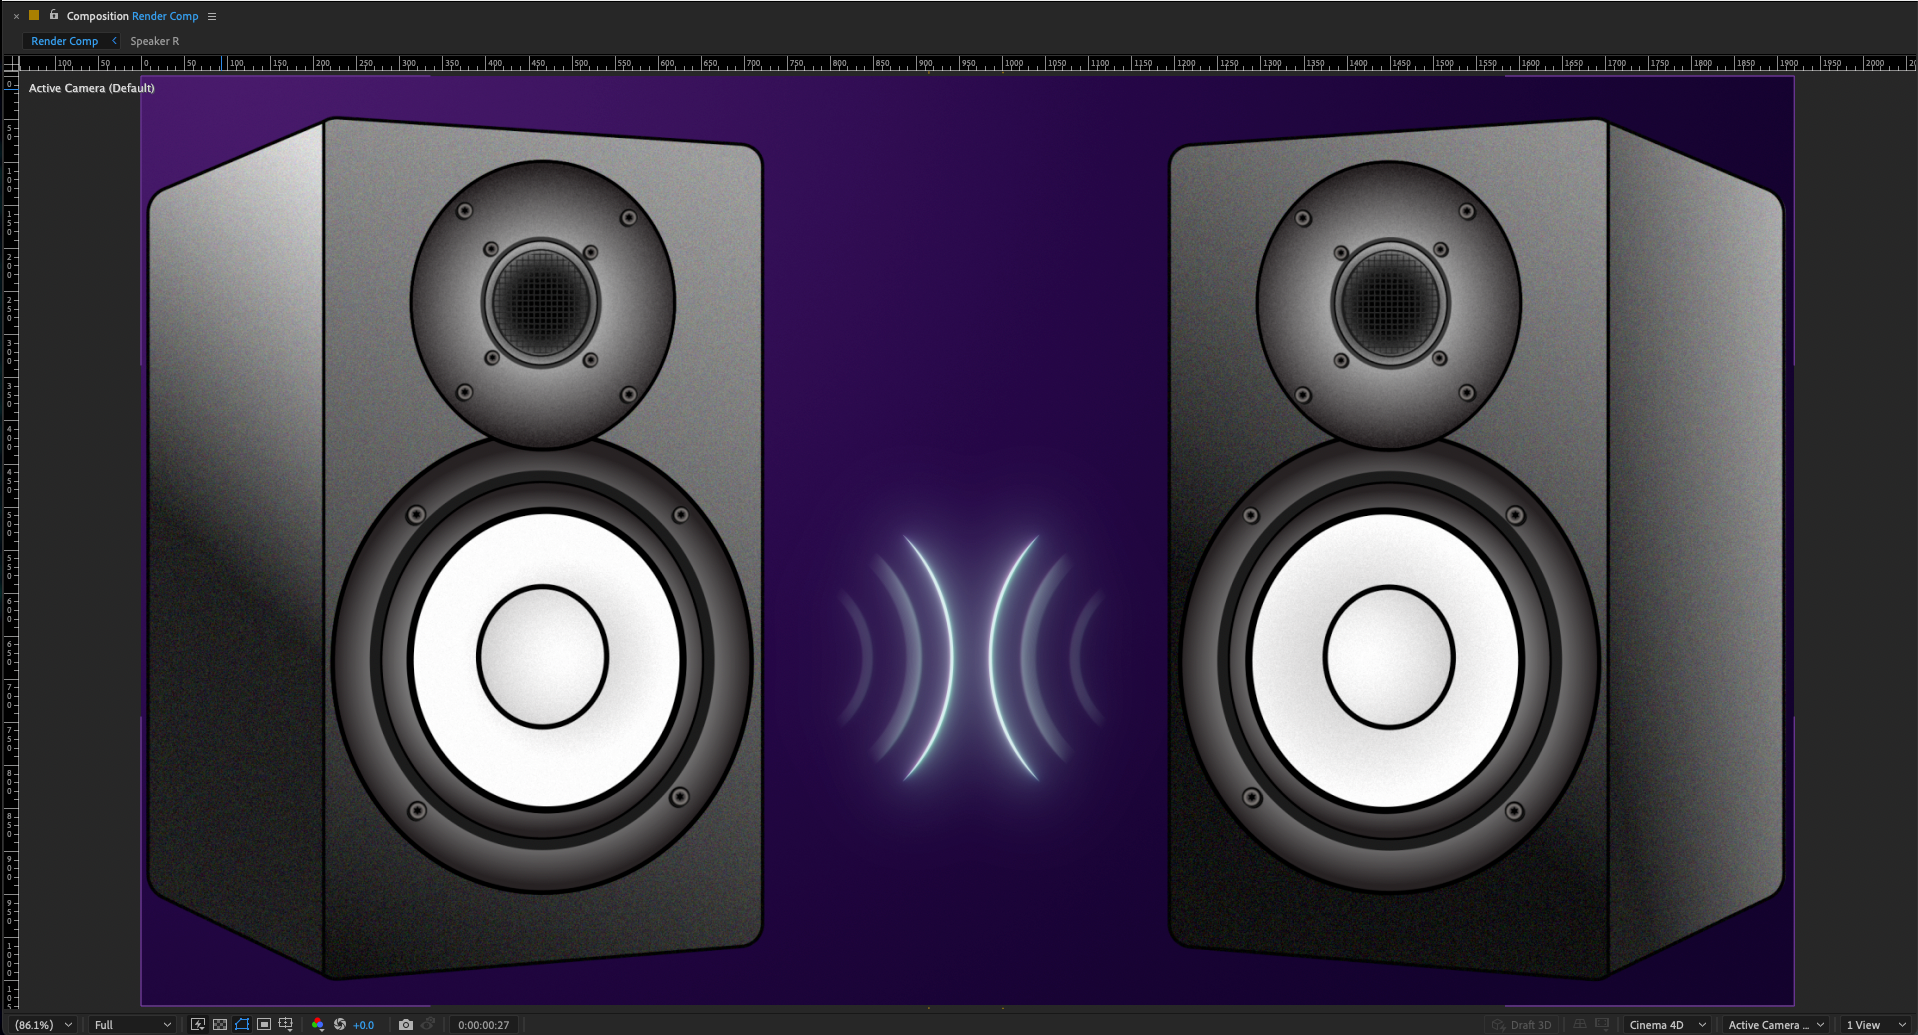
Both speakers in frame
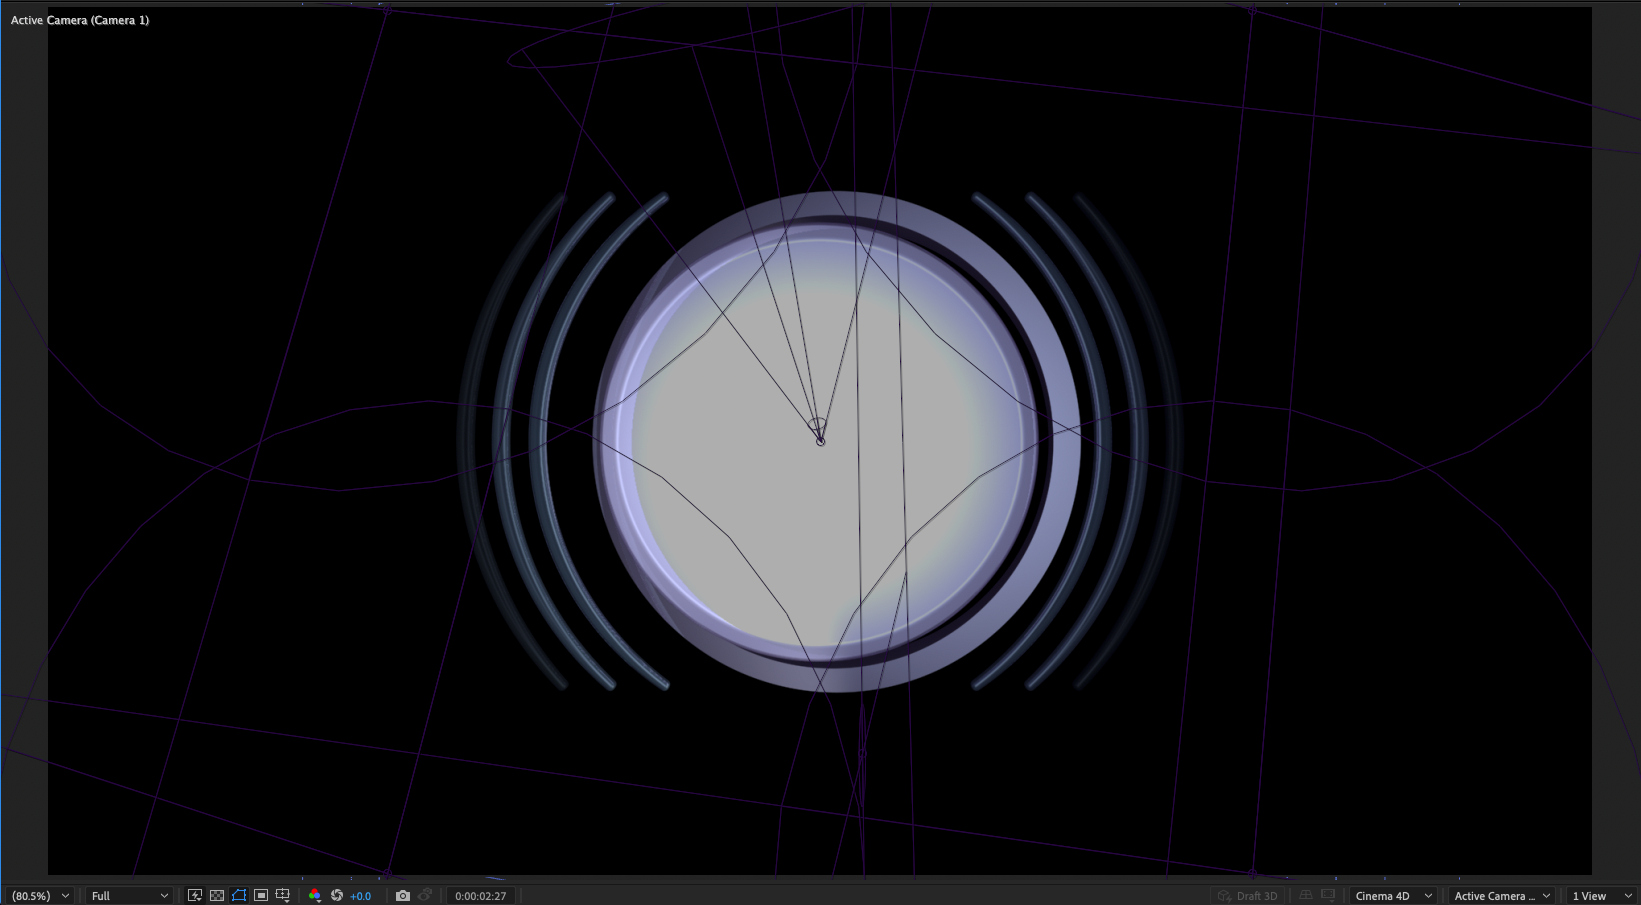
I'd previously animated the 3D version of the logo, so I imported the animation into the project. From there it was only a matter of pushing keyframes around to find the timing for its placement in the timeline.
Stage 3: Animatic & Rough Animation
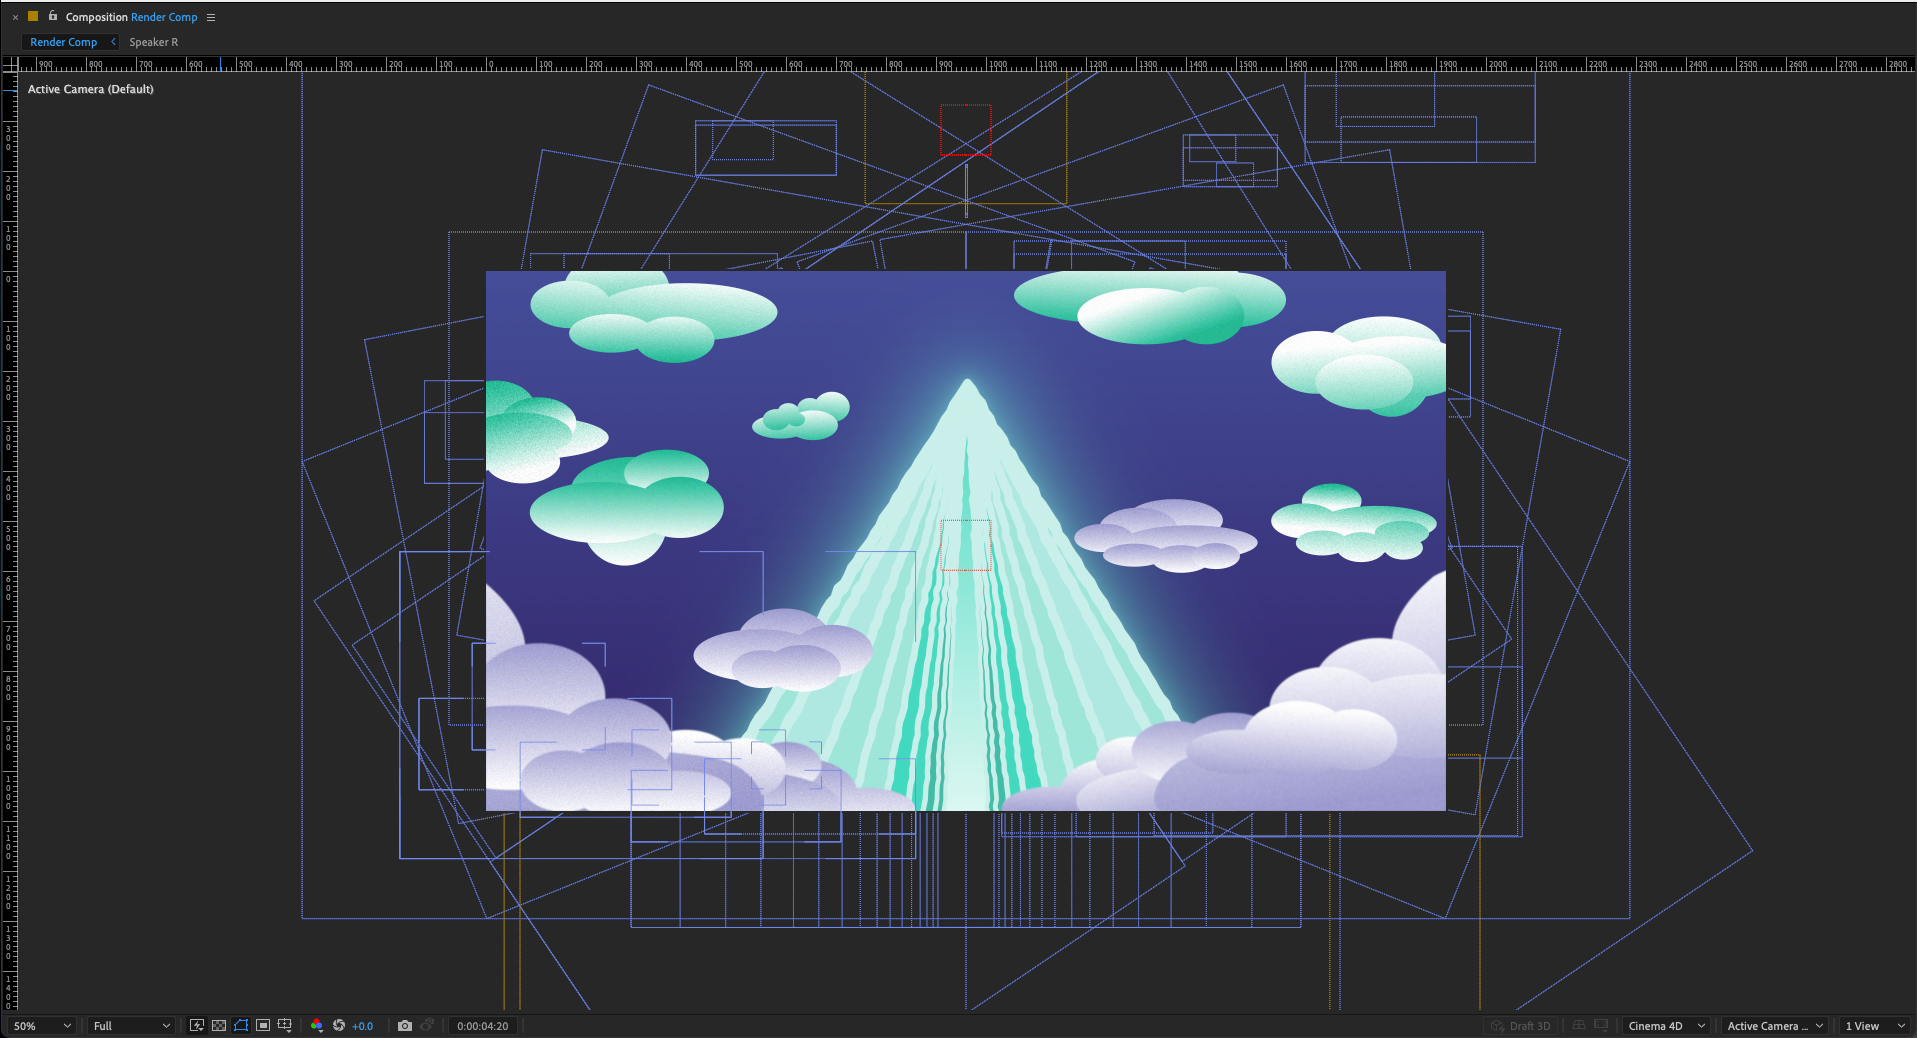
STAGE 4: FINAL ANIMATION
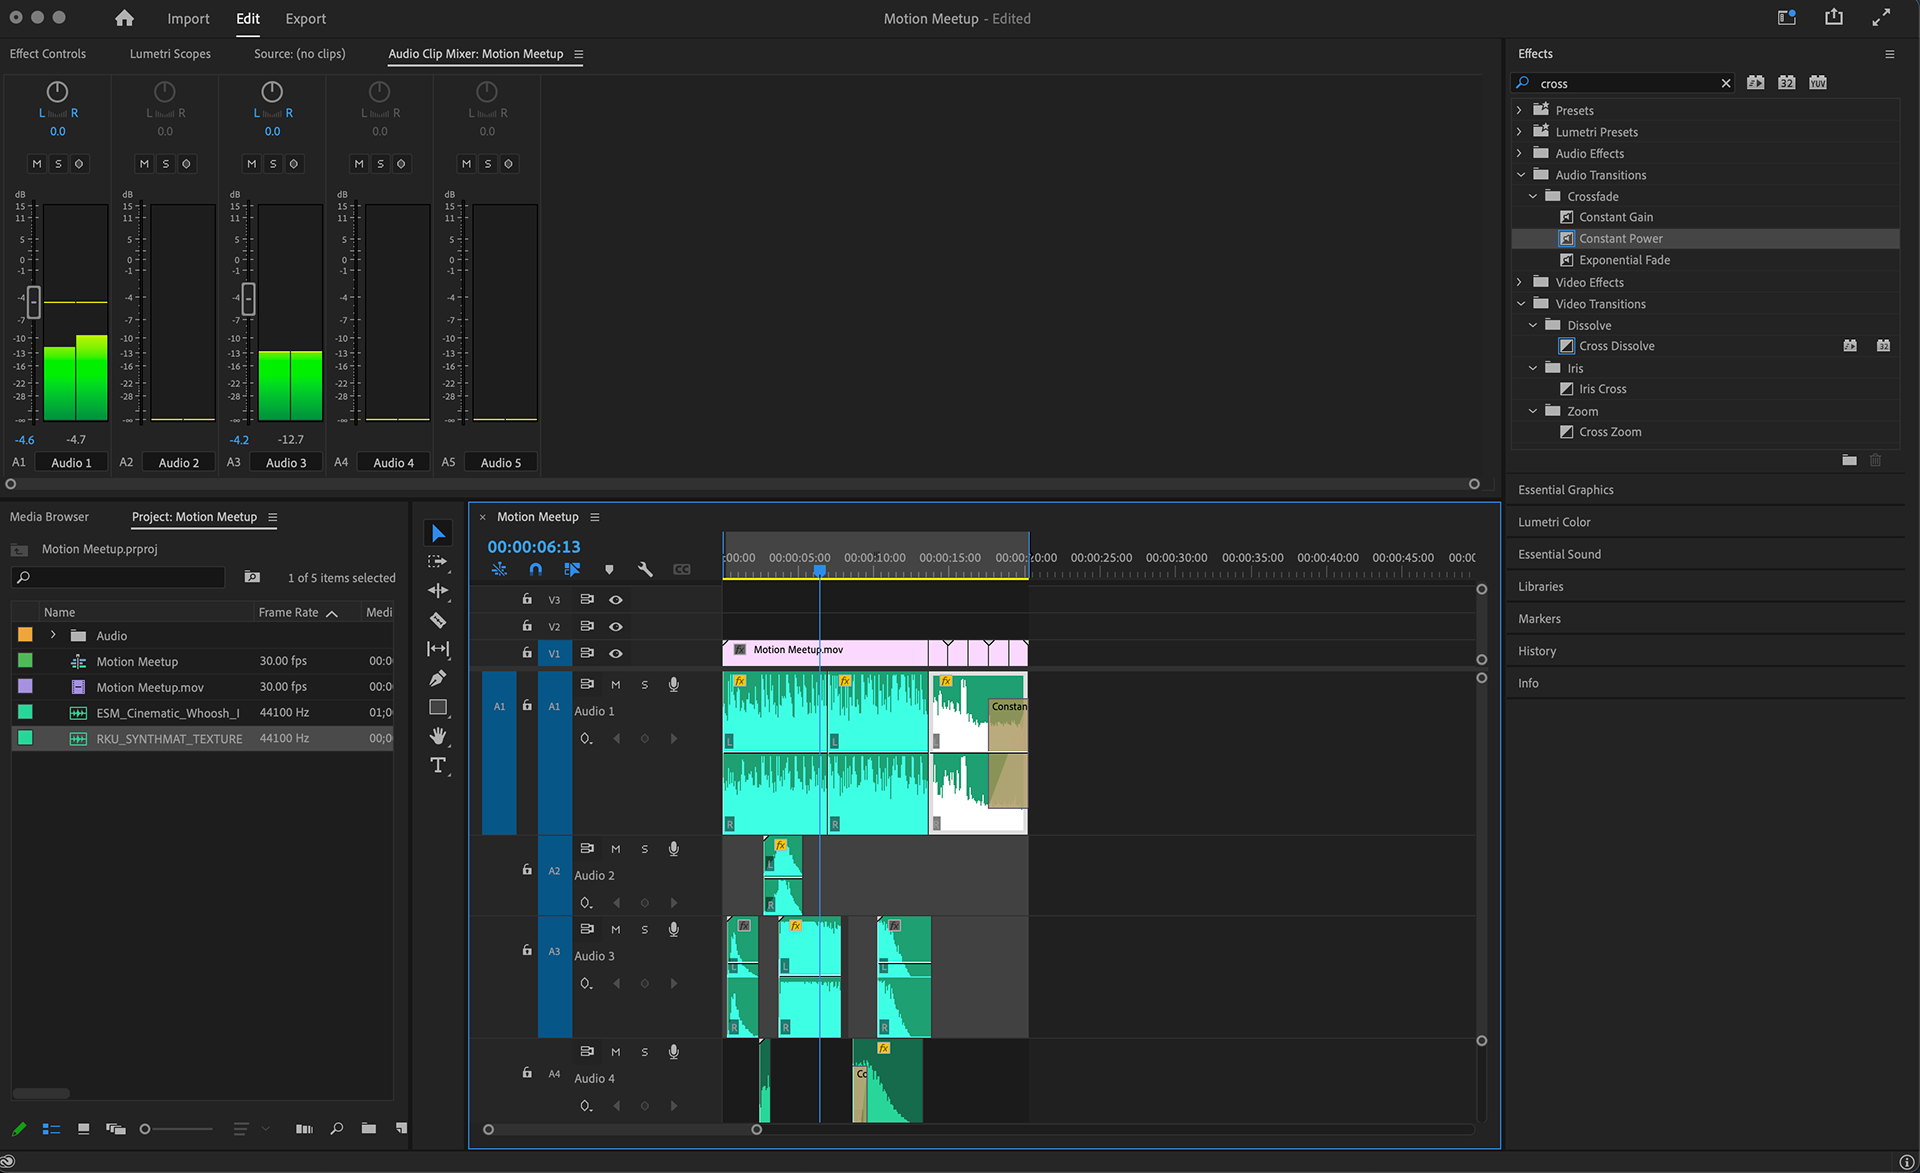
StAGE 5: Audio Mix
Some Motion Designers like to do their sound design in AE, but I find it clunky, so I opted to do the final audio arrangement and mix in Premiere. The music I licensed from Audio Jungle provided a nice bed, but took a little finessing to make the correct length.
I added foley in appropriate places to enhance the various animated elements, and ensured all the levels were set properly so the final mix sounded crisp.
STAGE 6: FINAL RENDER
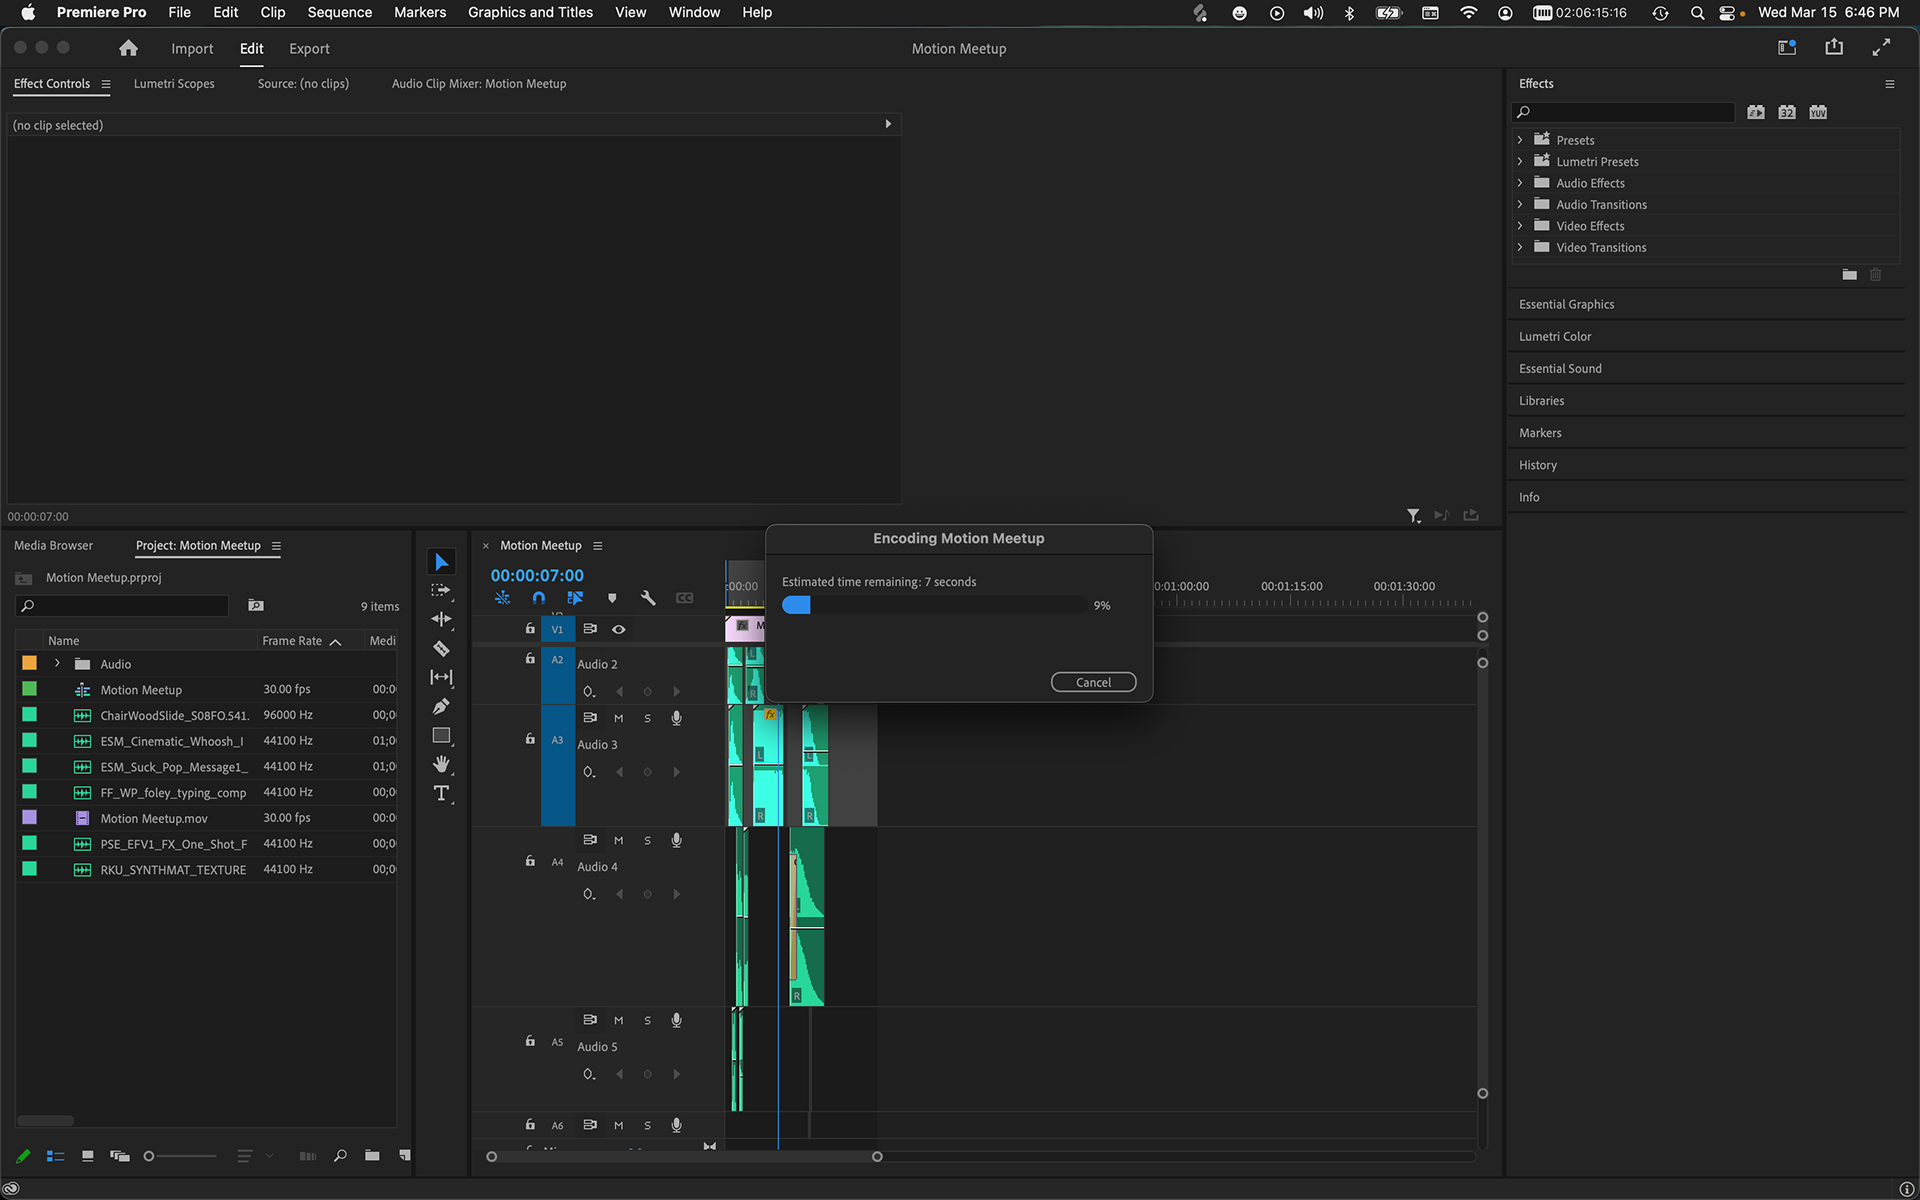
Finally, all that was left to do was wait for it to render, and then start posting this everywhere online to promote the meetup!
If you're in the Los Angeles area and want to connect with other industry people, put the next one on your calendar and come down to meet the crew!
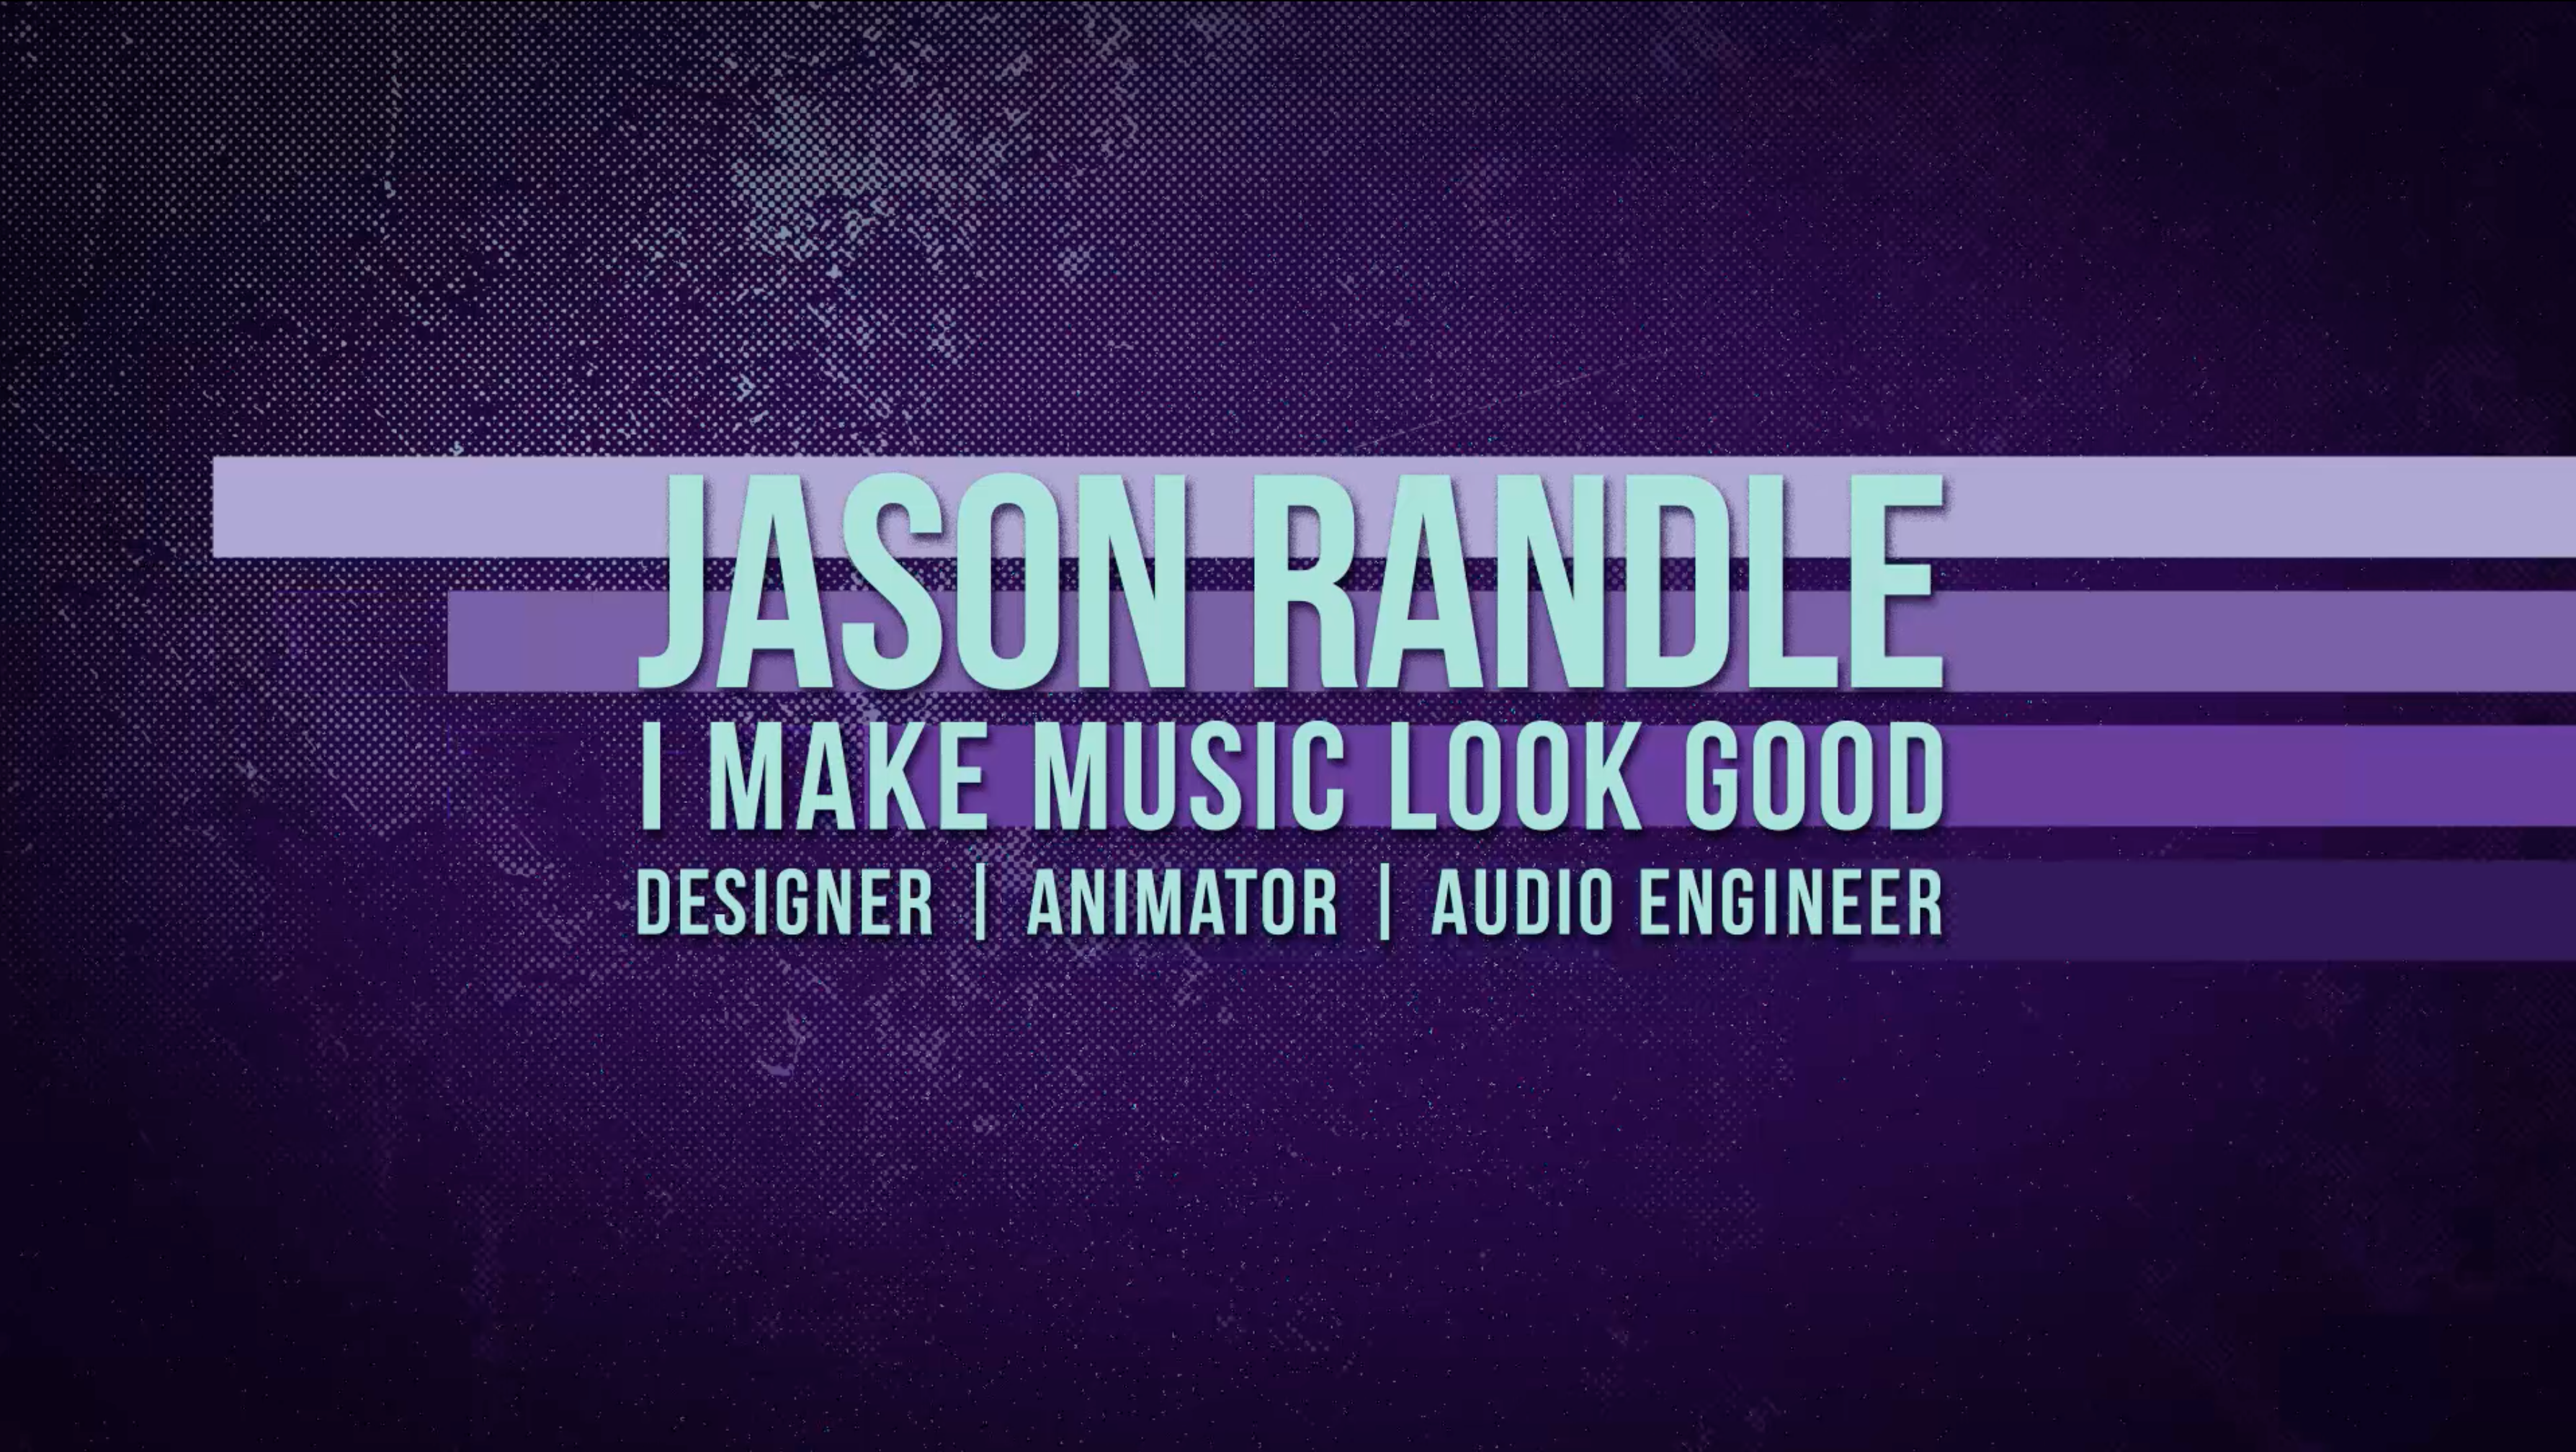
I hope you enjoyed this breakdown and it gave you some insight to my process. If you'd like to know more about the person behind the work, there's a short bio about me at that link.
If you're interested in working with me on your projects, head over to the Contact Section and get in touch!
I hope you enjoyed this breakdown and it gave you some insight to my process. If you'd like to know more about the person behind the work, there's a short bio about me at that link.
If you're interested in working with me on your projects, head over to the Contact Section and get in touch!